Notability
Now that you have turned your sheets of paper into documents, it's time for you to learn how to edit & manage them.
Organizing Documents
-Creating Classes
-Creating Dividers
-Managing Classes & Dividers
-Organizing Documents by Date
Creating & Editing Documents
-Creating a New Note
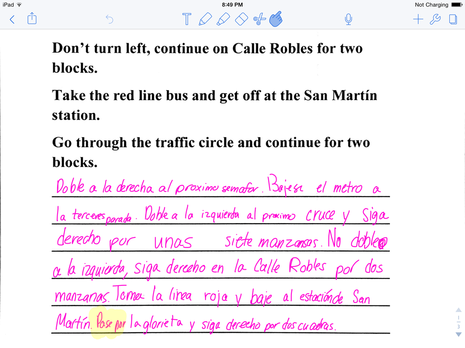
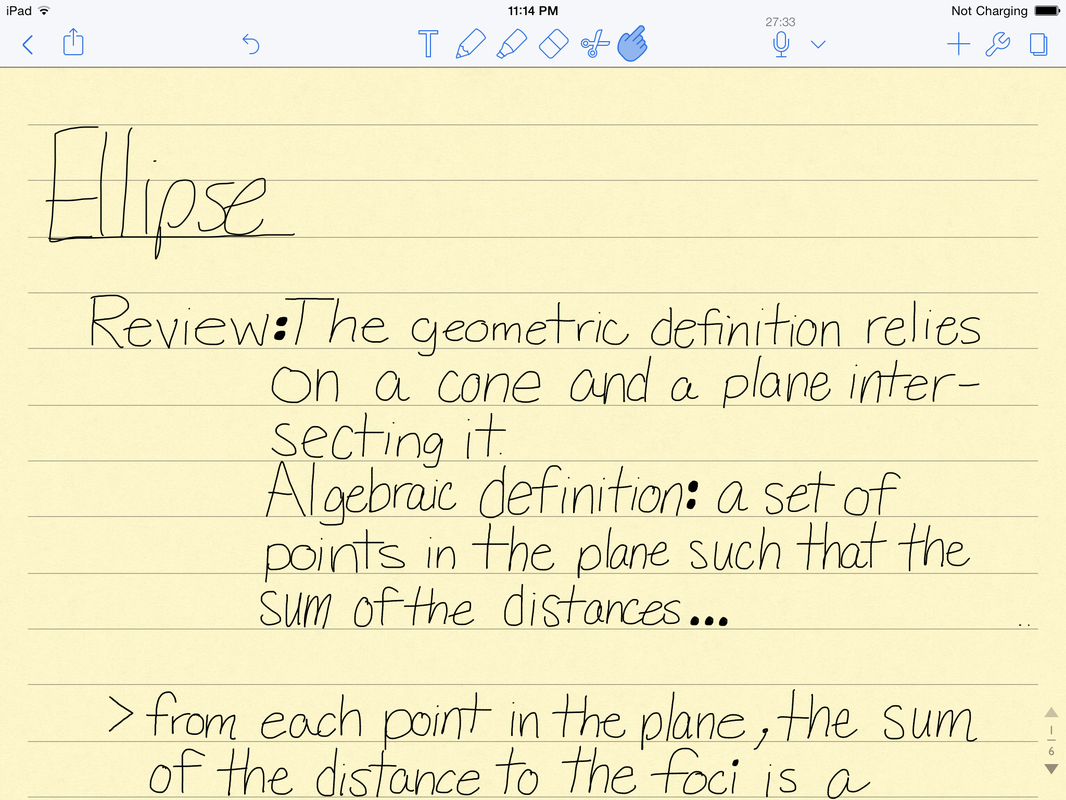
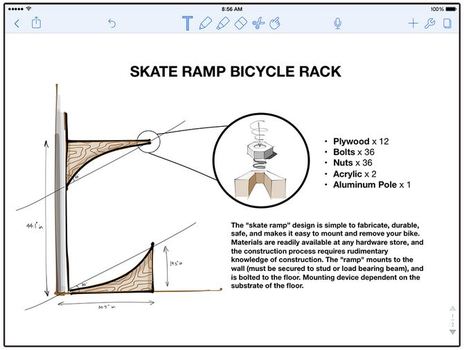
-Hand-Writing Within Documents
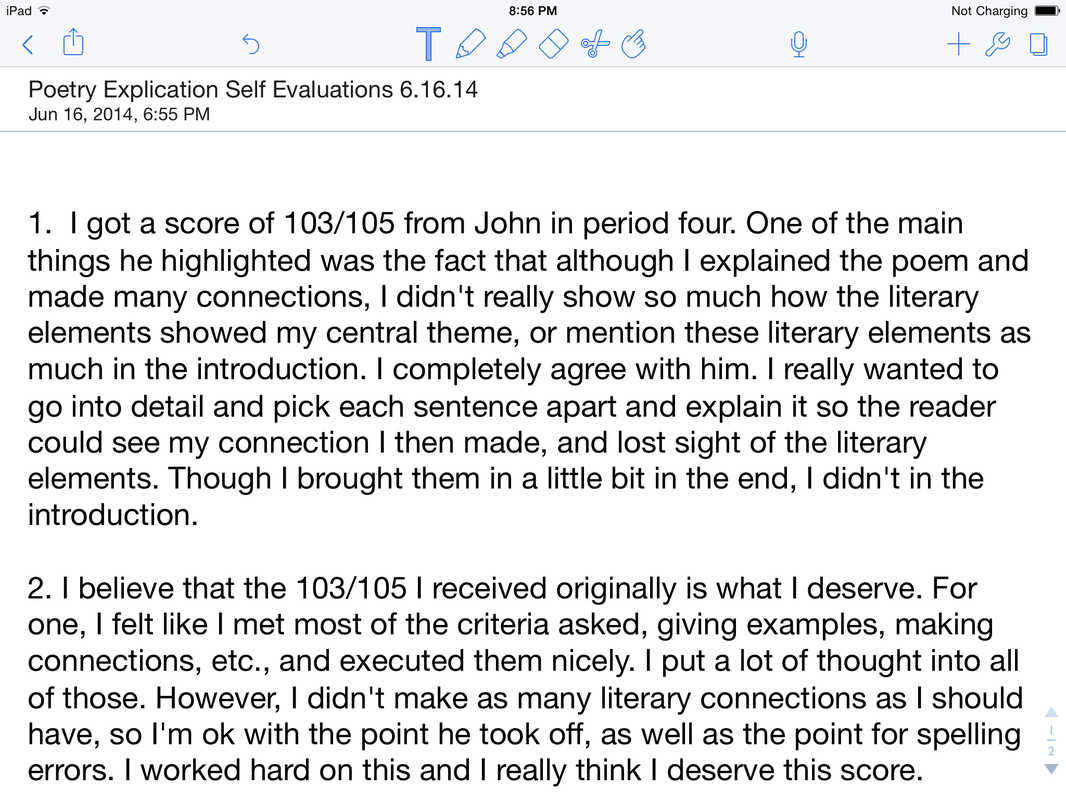
-Typing Within Documents
-Inserting Stickies
-Changing Paper Styles
-Managing Pages Within a Document
-Recording Lectures
Auto-Backup
ICloud
Sharing Documents
-Creating Classes
-Creating Dividers
-Managing Classes & Dividers
-Organizing Documents by Date
Creating & Editing Documents
-Creating a New Note
-Hand-Writing Within Documents
-Typing Within Documents
-Inserting Stickies
-Changing Paper Styles
-Managing Pages Within a Document
-Recording Lectures
Auto-Backup
ICloud
Sharing Documents
Organizing Documents
In high school, you are expected to somehow label and organize every aspect of your student life, into neat and organized binders and folders. You have to keep them in order, remember to date them, and try and protect them from wear and tear. Not the easiest thing, am I right? Notability can turn organizing your hectic life into a simple experience that will put your mind at ease. Red below to see how!

|
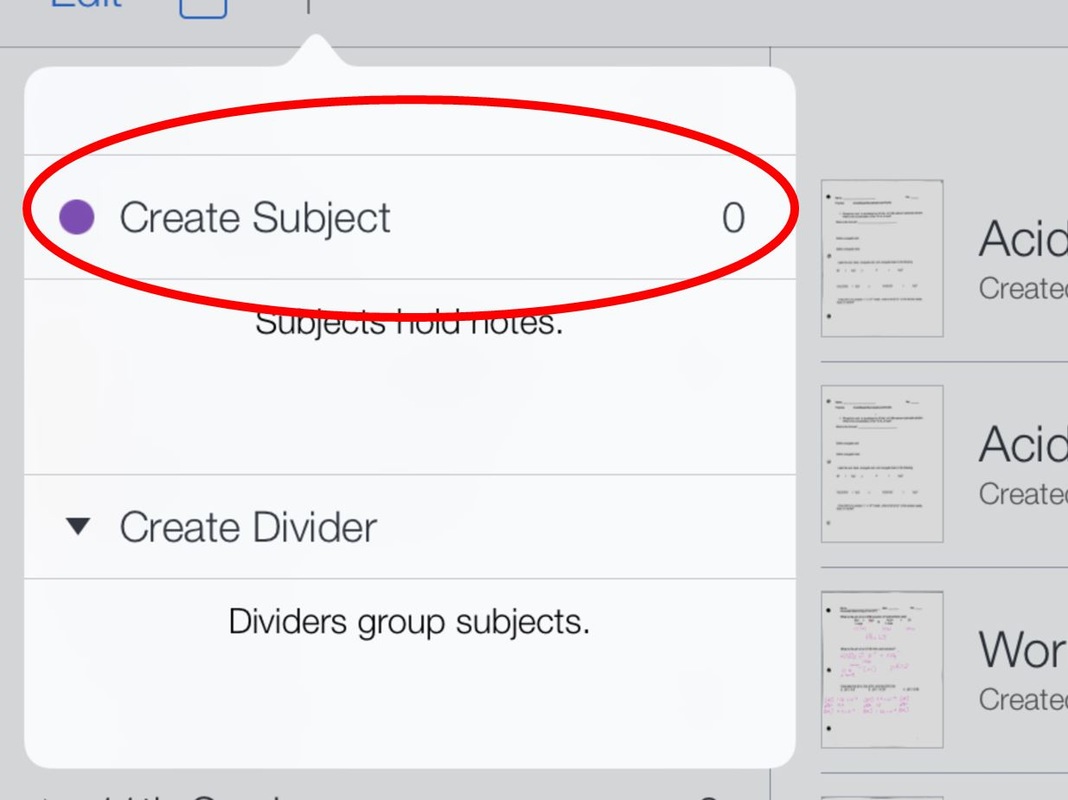
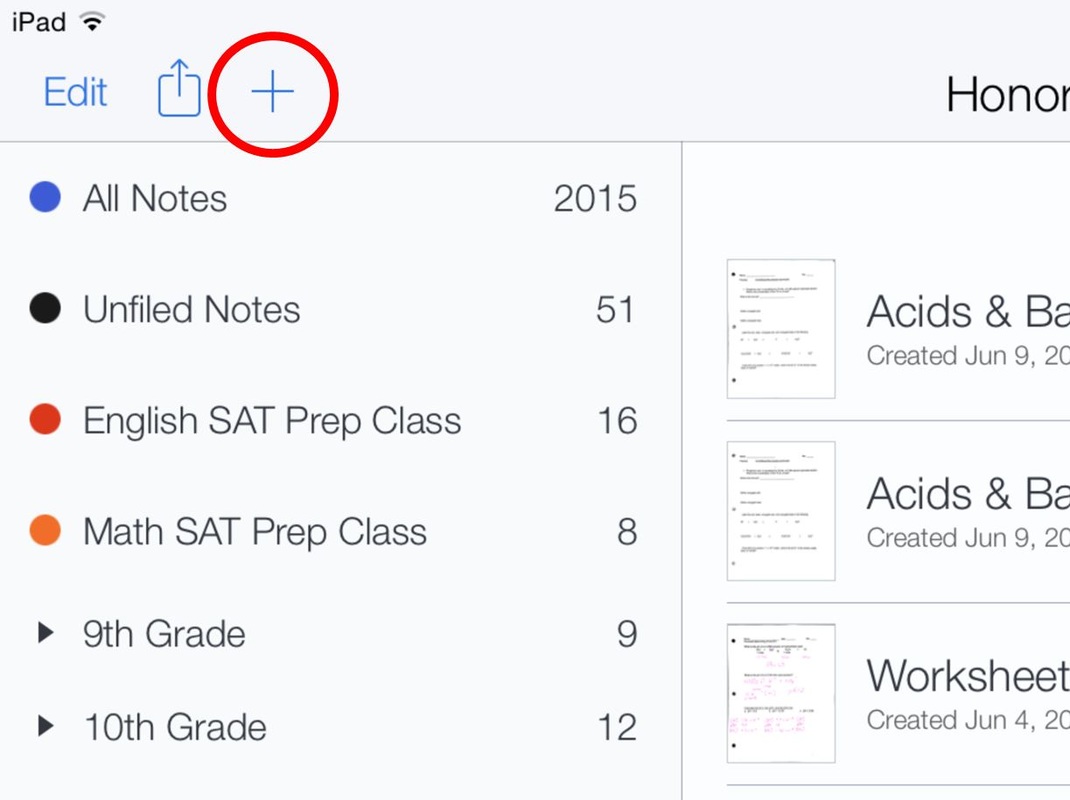
1. Tap "+" icon.
|
|
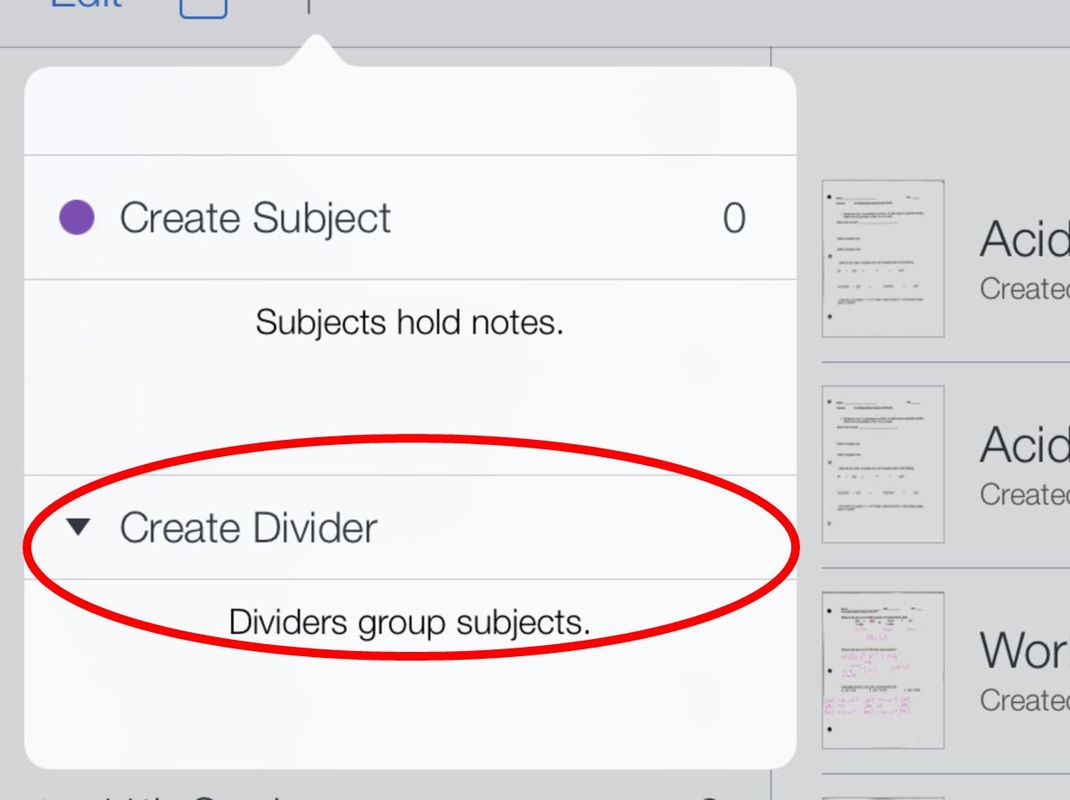
2. Select "Create Subject."
|
|
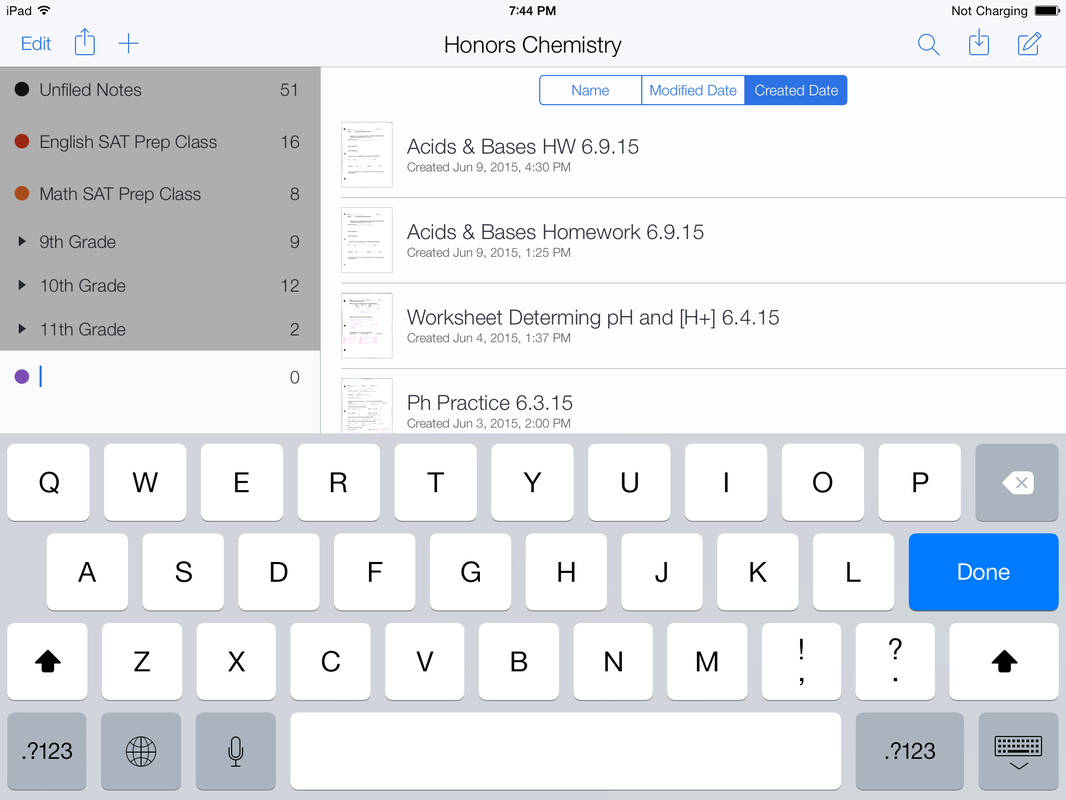
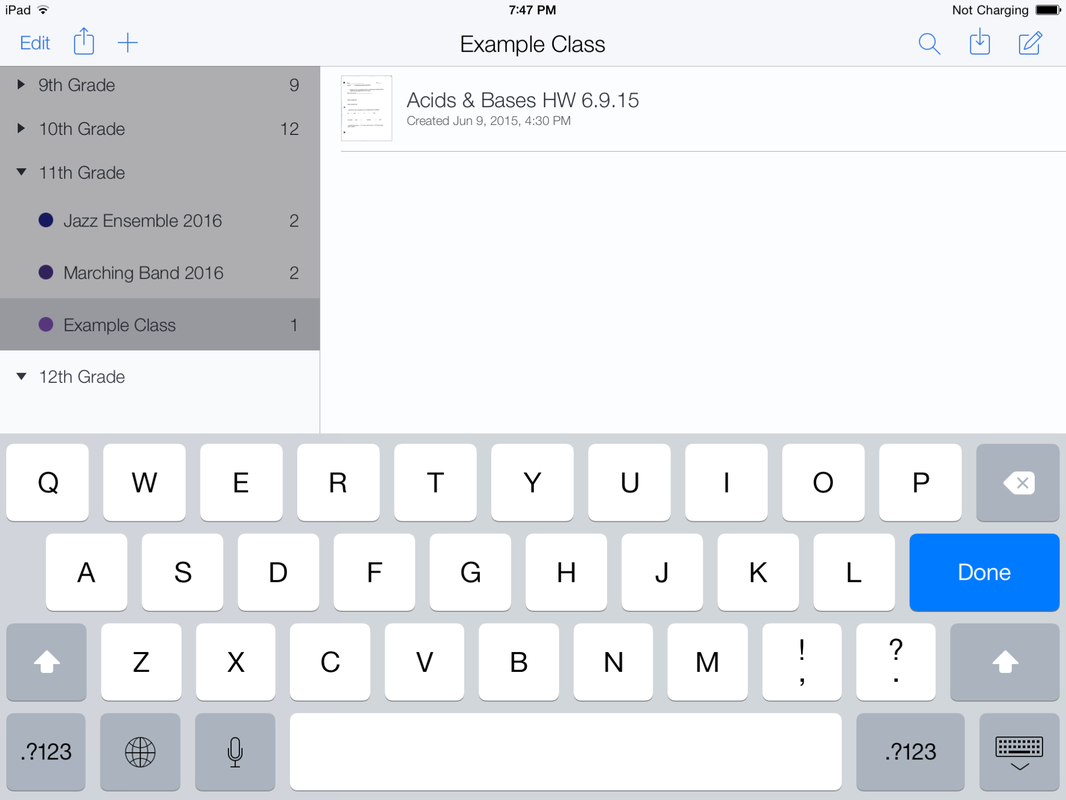
3. Name your class.
|
|
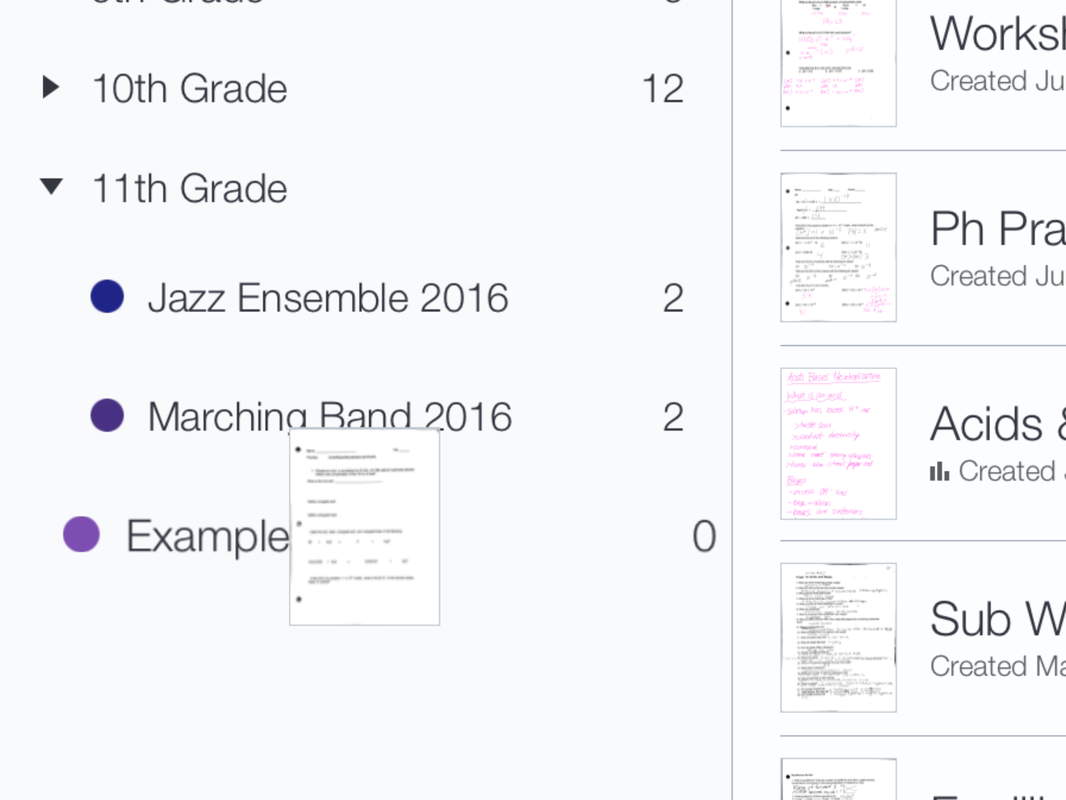
4. Hold & drag your documents into the class.
|
|
1. Tap "+" icon.
|
|
2. Select "Create Divider."
|
|
3. Name your divider.
|
|
4. Organize subjects within dividers.
|
|
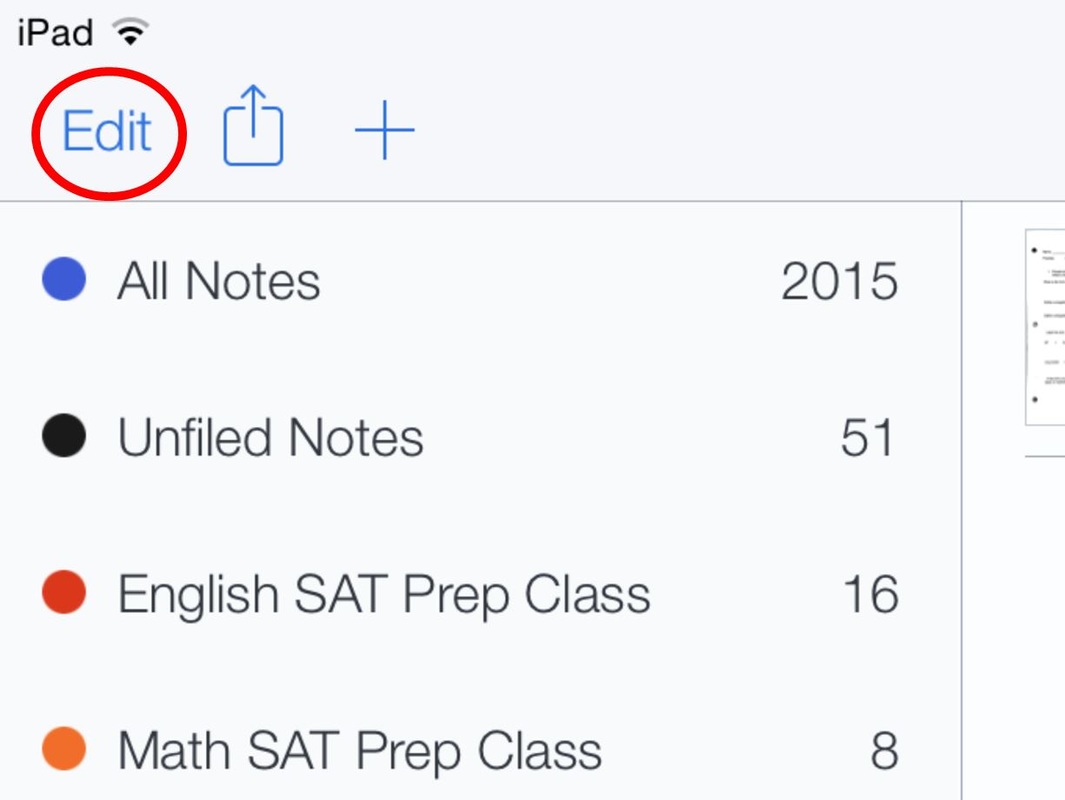
1. Select "Edit."
|

|
2. Hold "Tabs" and slide around subjects and dividers to rearrange.
|

|
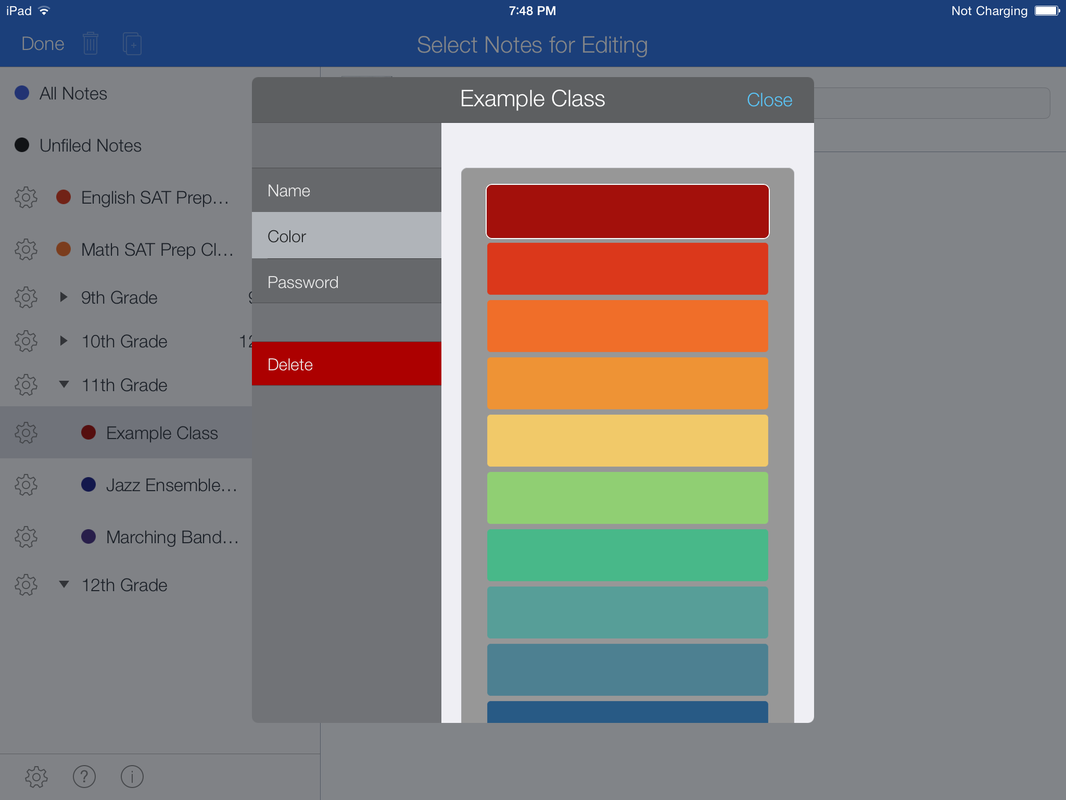
3. Tap "Gear" icon.
|
|
4. Edit the name, change the color, add passwords, and delete Subjects and Dividers.
|
1. Make sure you name every document by name, and date.
- This will make it easier to know which documents are which when scrolling through classes.
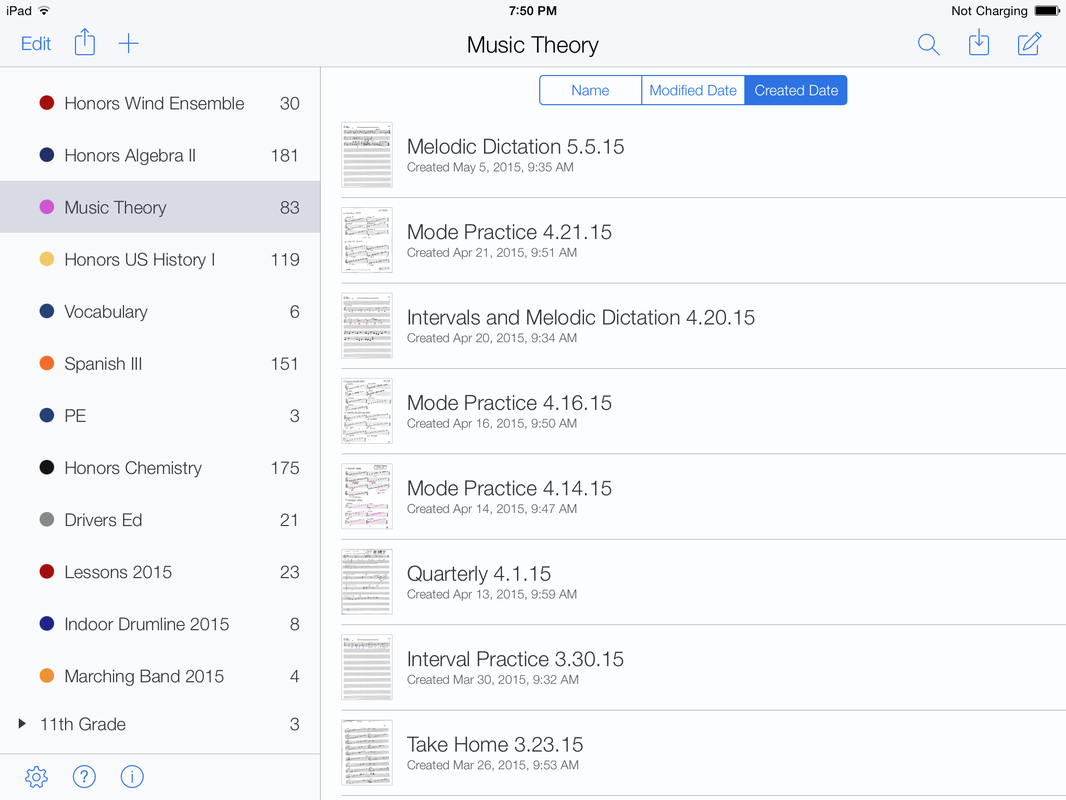
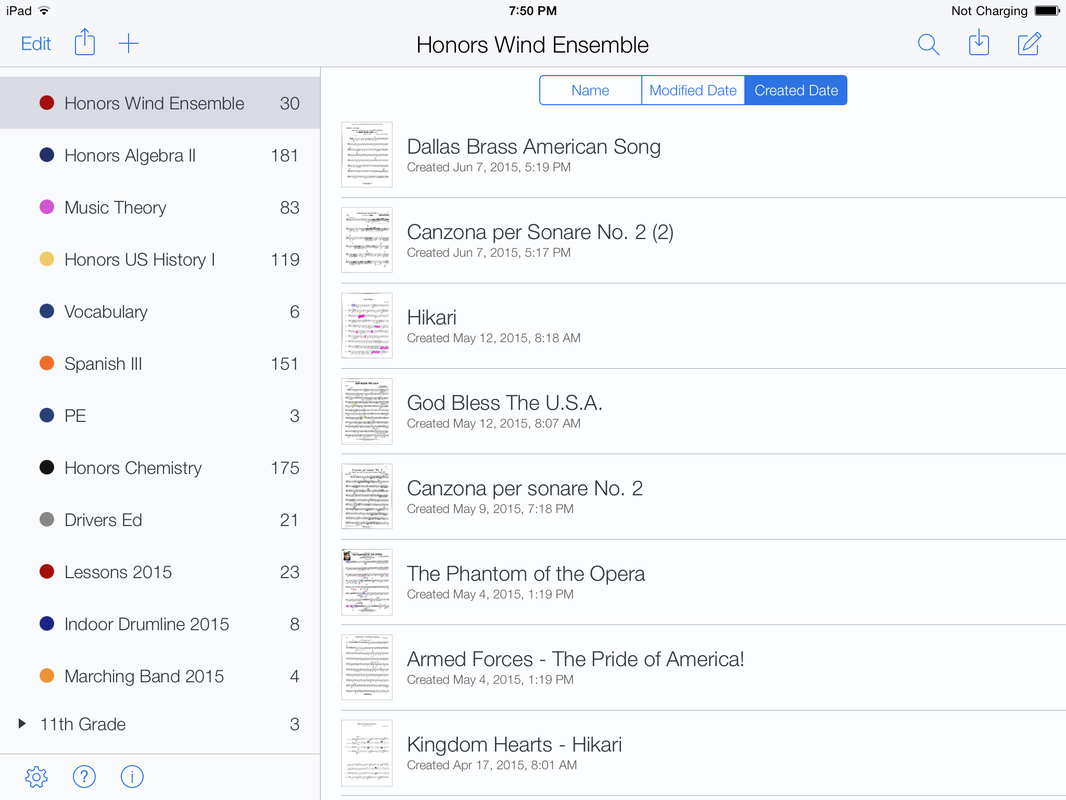
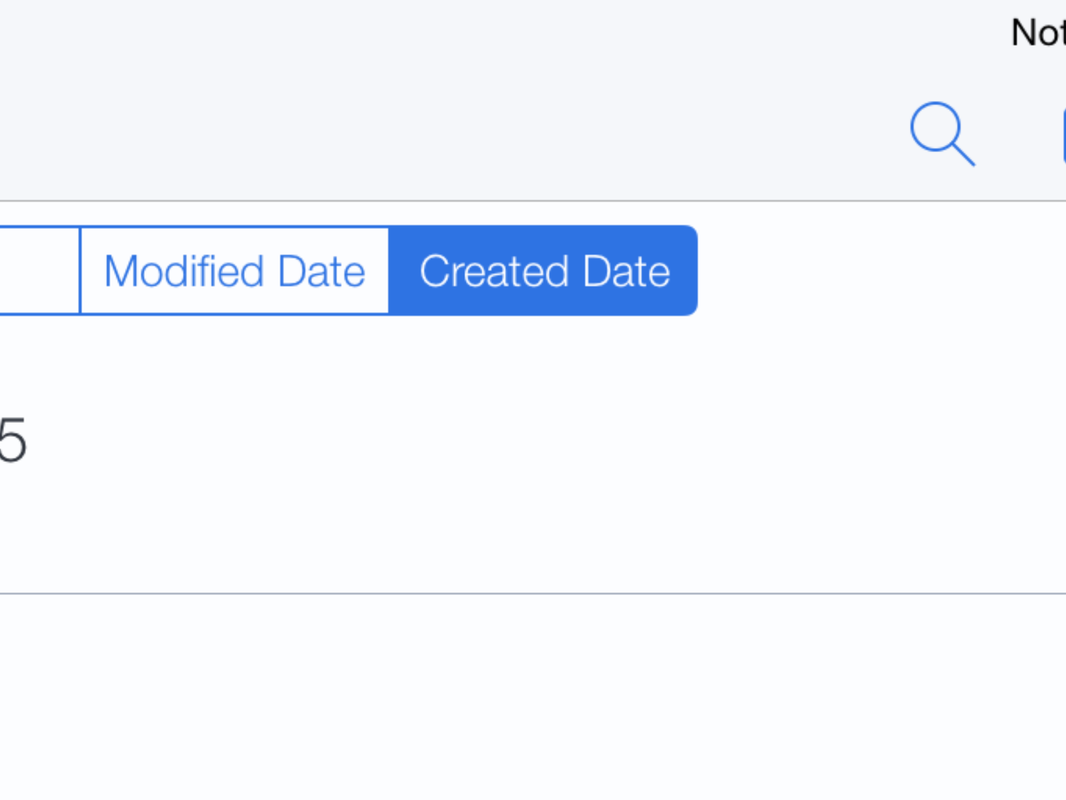
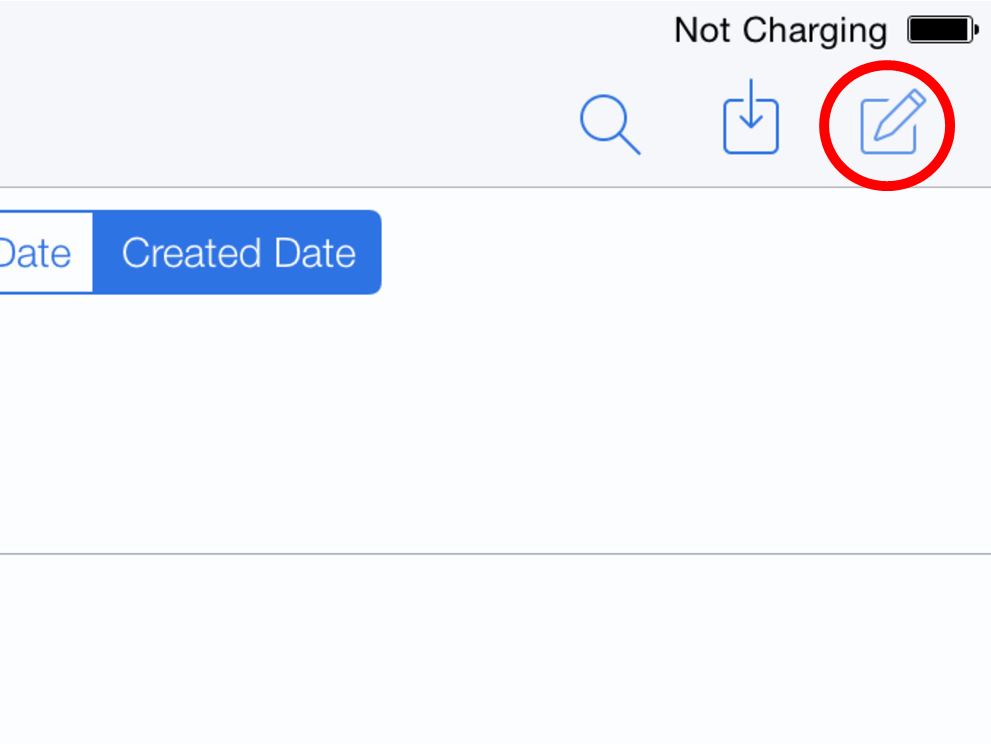
2. Go to the home screen of Notability with all of your documents in front of you. Select for your documents to be organized by "Created Date."
- When a document is imported into Notability, the exact time and date it was imported is stamped onto it (under the name.) This is the date Notability organizes your documents by- not the one in the name you gave it. However, if you keep up with scanning papers on the same day you get them, the dates should line up perfectly.
- This will make it easier to know which documents are which when scrolling through classes.
2. Go to the home screen of Notability with all of your documents in front of you. Select for your documents to be organized by "Created Date."
- When a document is imported into Notability, the exact time and date it was imported is stamped onto it (under the name.) This is the date Notability organizes your documents by- not the one in the name you gave it. However, if you keep up with scanning papers on the same day you get them, the dates should line up perfectly.
|
|
"How Do I Import an Old Document Without Disrupting the Order?"
1. Scan your paper into Scanner Pro.
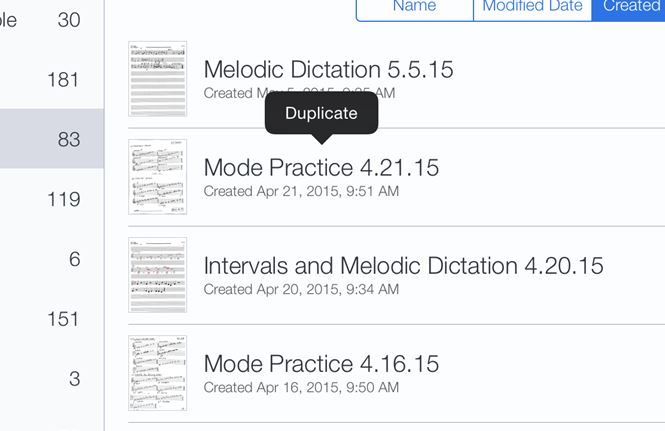
2. Go into Notability and find a current document in your class that has the same or near same date as the one you want to import.
|
3. Hold down on the document until a "Duplicate" bubble appears. Tap it.
|
|
4. Open the copied document.
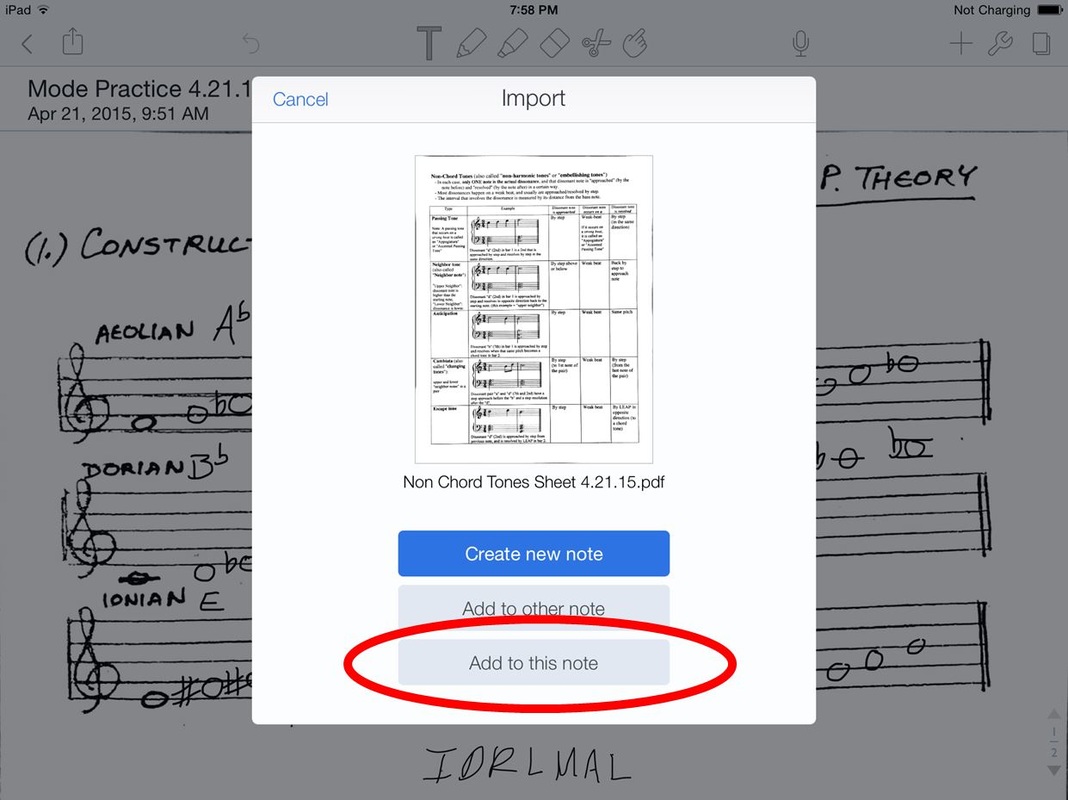
5. Export the document from Scanner Pro into Notability.
|
6. Select "Add to this note" tab.
|
|
|
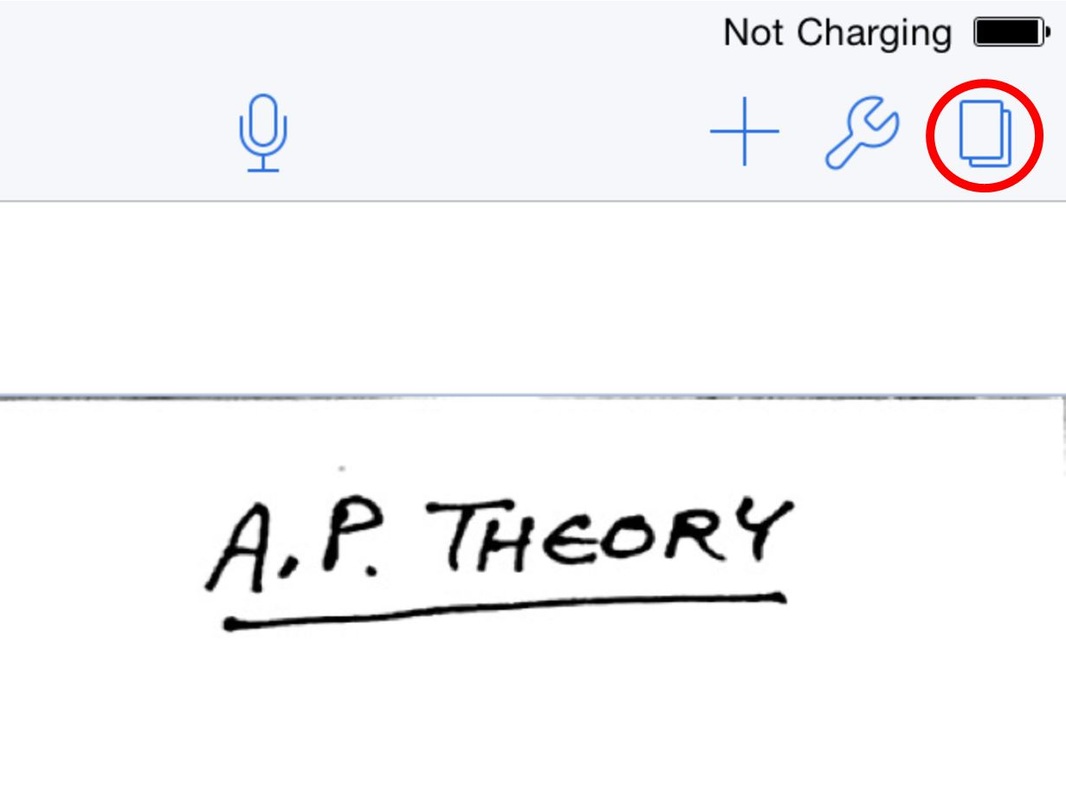
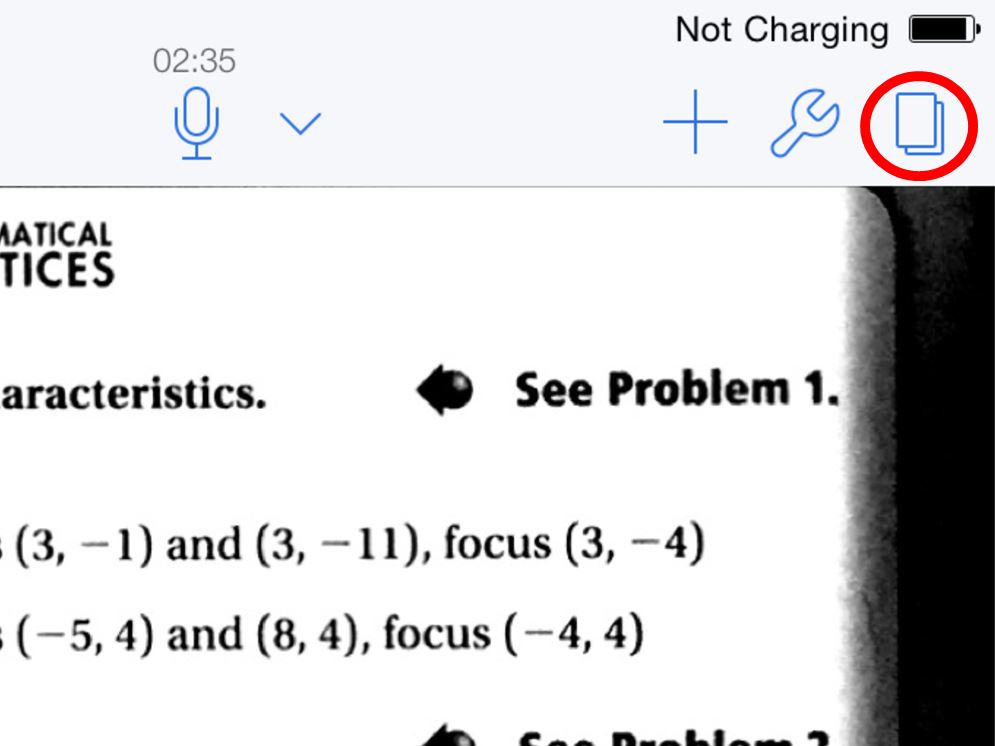
7. Tap "Pages" icon in the top right of the document.
|
|
|
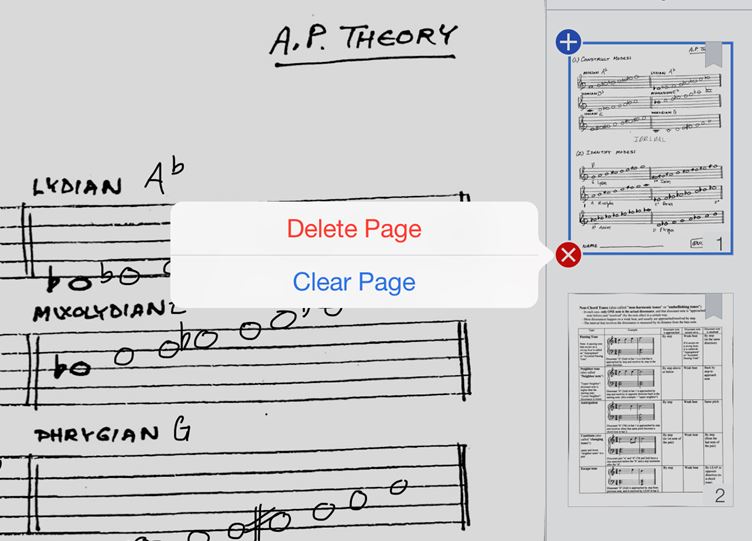
8. Delete all of the pages from the original document.
|
|
9. Rename the document
10. When finished, exit the document; the document should now be in order. If the document ends up being a slight day or so off, this is O.K.
Creating & Editing Documents
Notability allows you to edit your papers in ways that have never been possible on regular paper. Read below to see how.
|
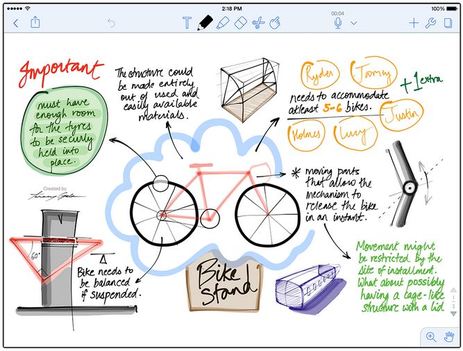
1. Go onto the main page of Notability, and tap the "Pen & Paper" icon in the top right.
|
|
Hand-Writing Within Documents

|
|
|
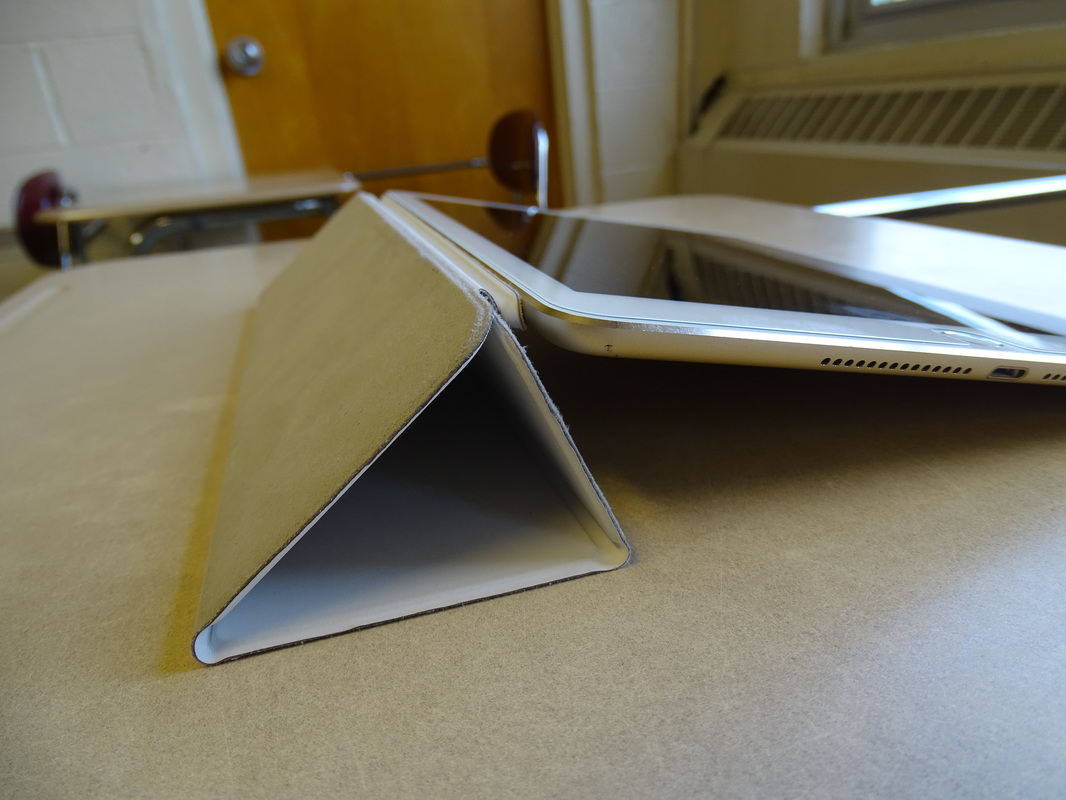
1. Prop up iPad for comfortable writing.
|

|
|
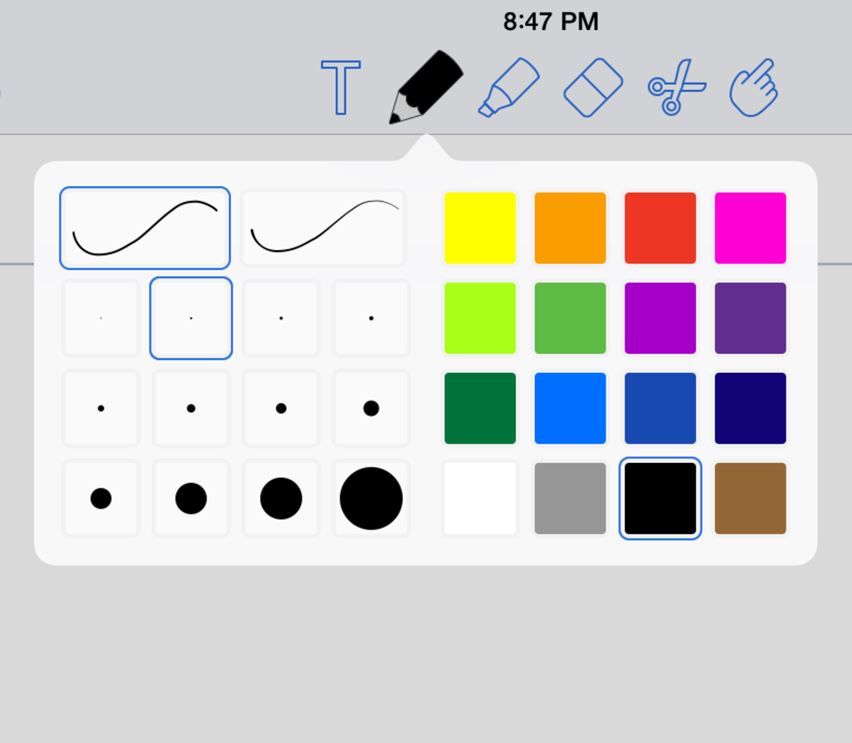
2. Select the "Pencil" icon.
- Choose from varying thicknesses and colors. -Also use highlighters and erasers. |
|
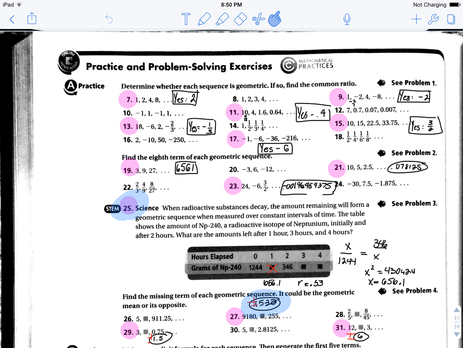
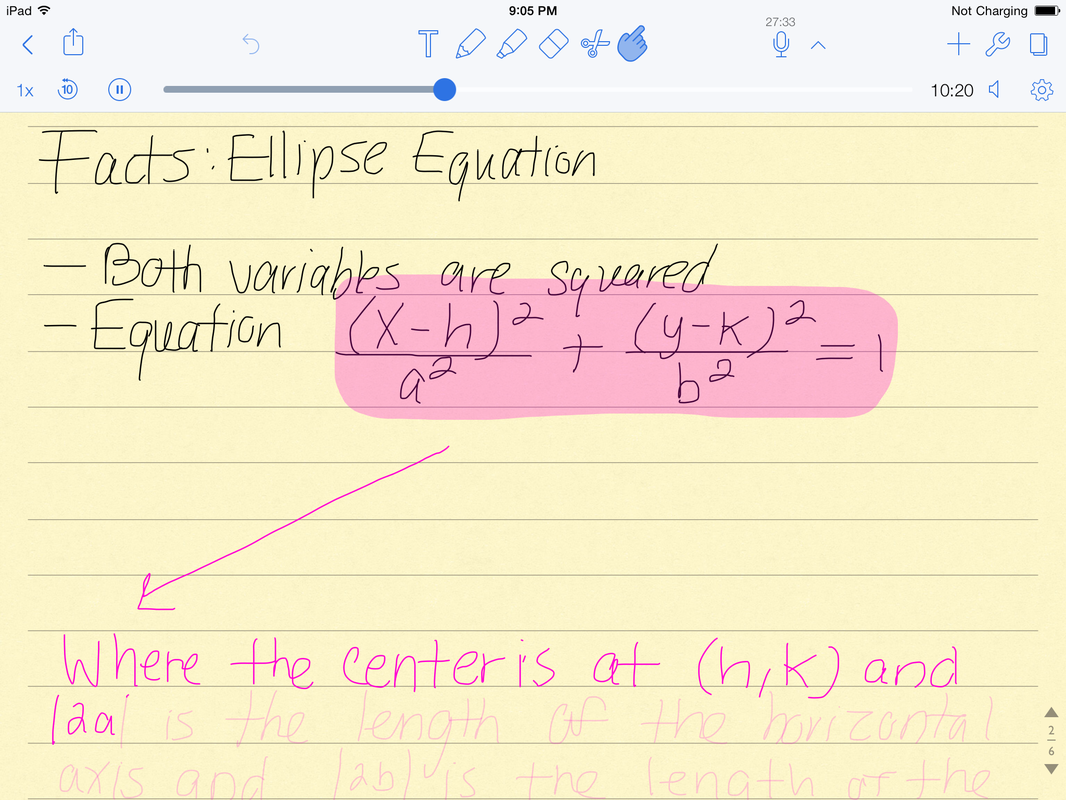
3. Write & draw with a stylus just like on normal paper.
|
|
4. Hold down on screen with stylus until writing box pops up.
-Move and re-size writing area to control the size of your writing.
-Once you write into the blue area, the block slides over so you never have to stop writing.
-Move and re-size writing area to control the size of your writing.
-Once you write into the blue area, the block slides over so you never have to stop writing.

|
|
|
|
|
1. Prop up iPad for comfortable typing.
|
|
|
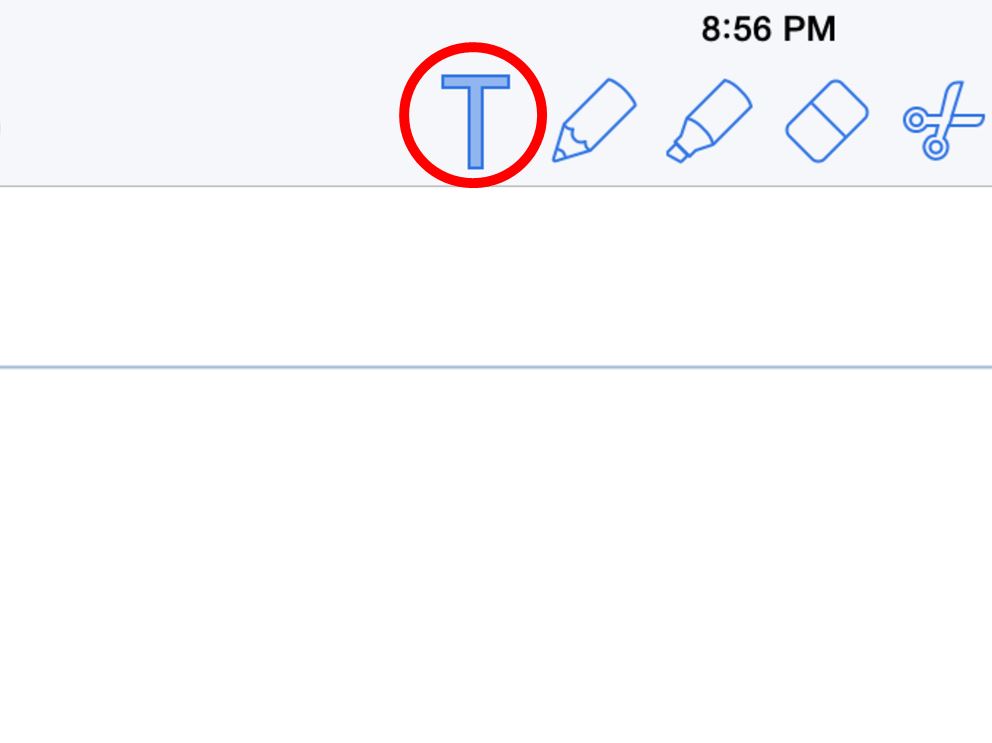
2. Select "Typing" icon.
3. Tap on the screen. |
|
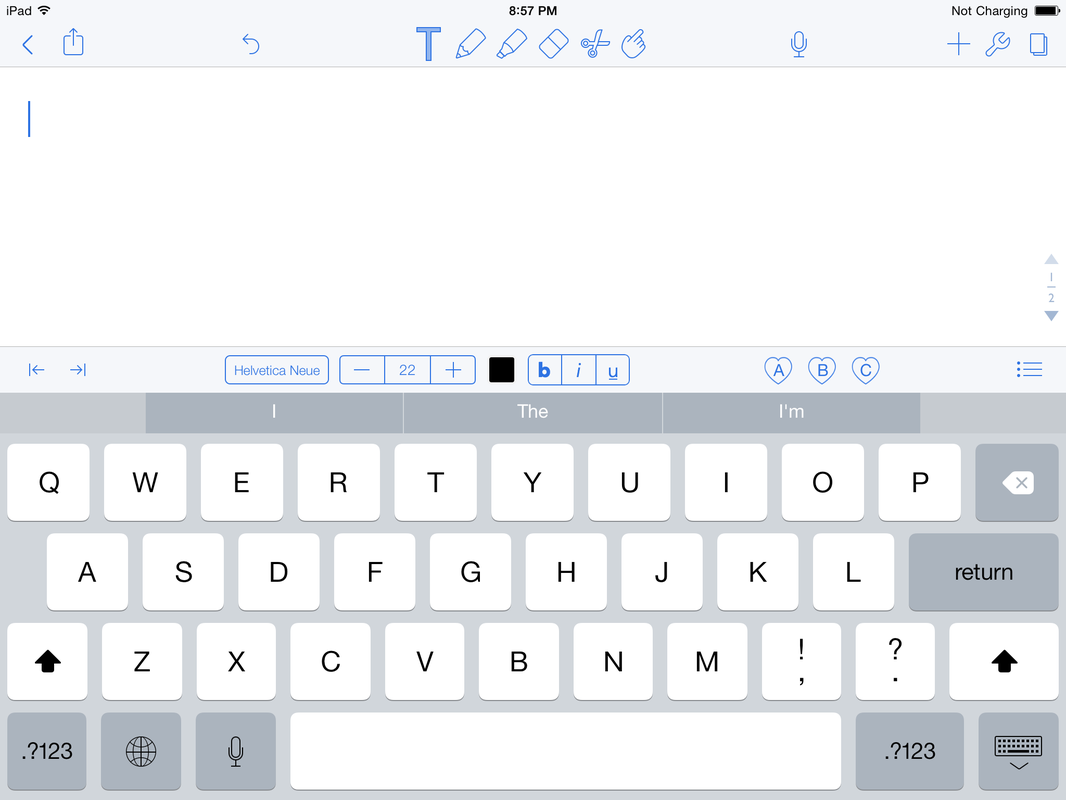
4. Type and use features just like on any other word processor.
Inserting stickies allows you add things into your documents, such as grids for graphing, text boxes,blank note pads, and lined note pads.
|
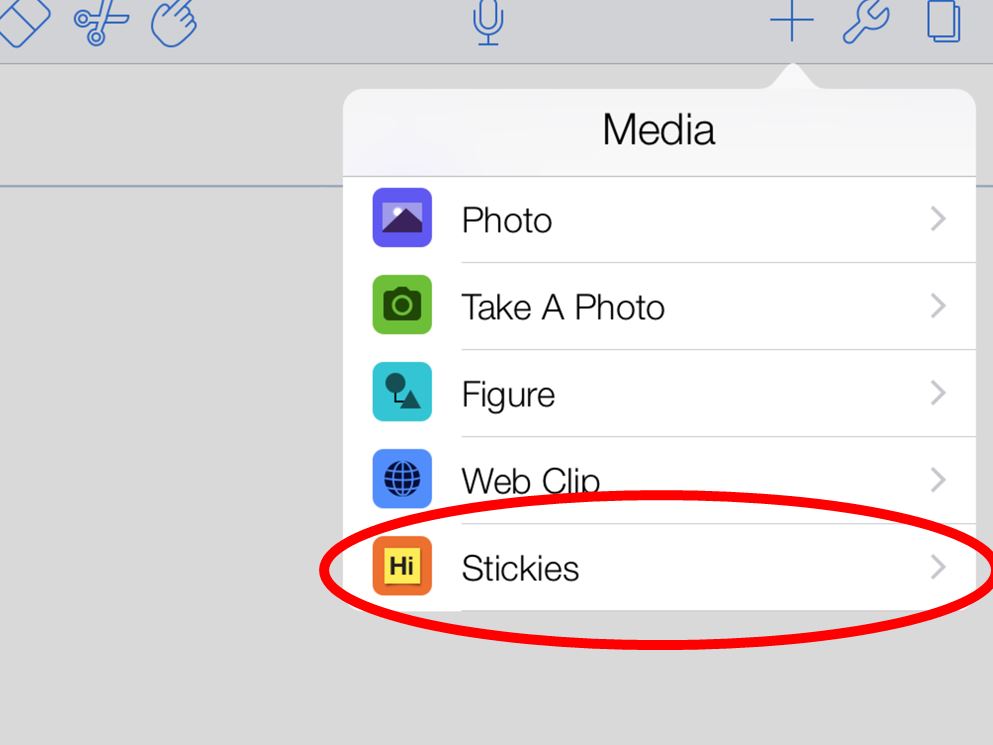
1. Tap the "+" button in a document.
|

|
|
2. Select "Stickies"
|
|
|
3. Select a Sticky, and drag it onto the document.
|
|

|
|
|
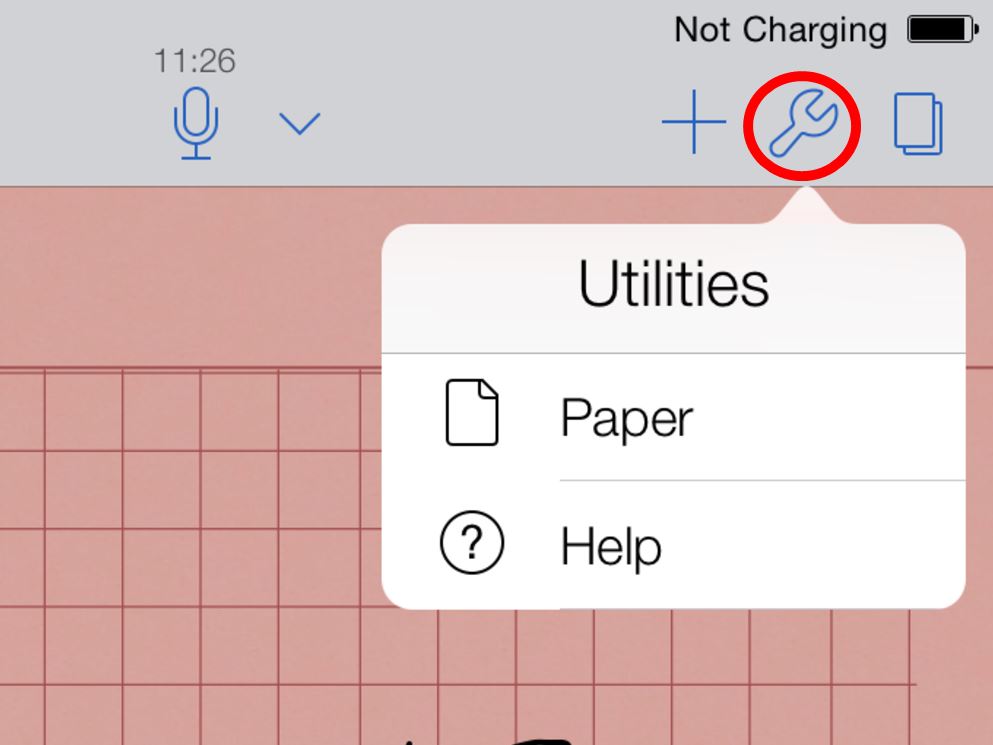
1. Select the "Wrench" icon in a document.
|
|
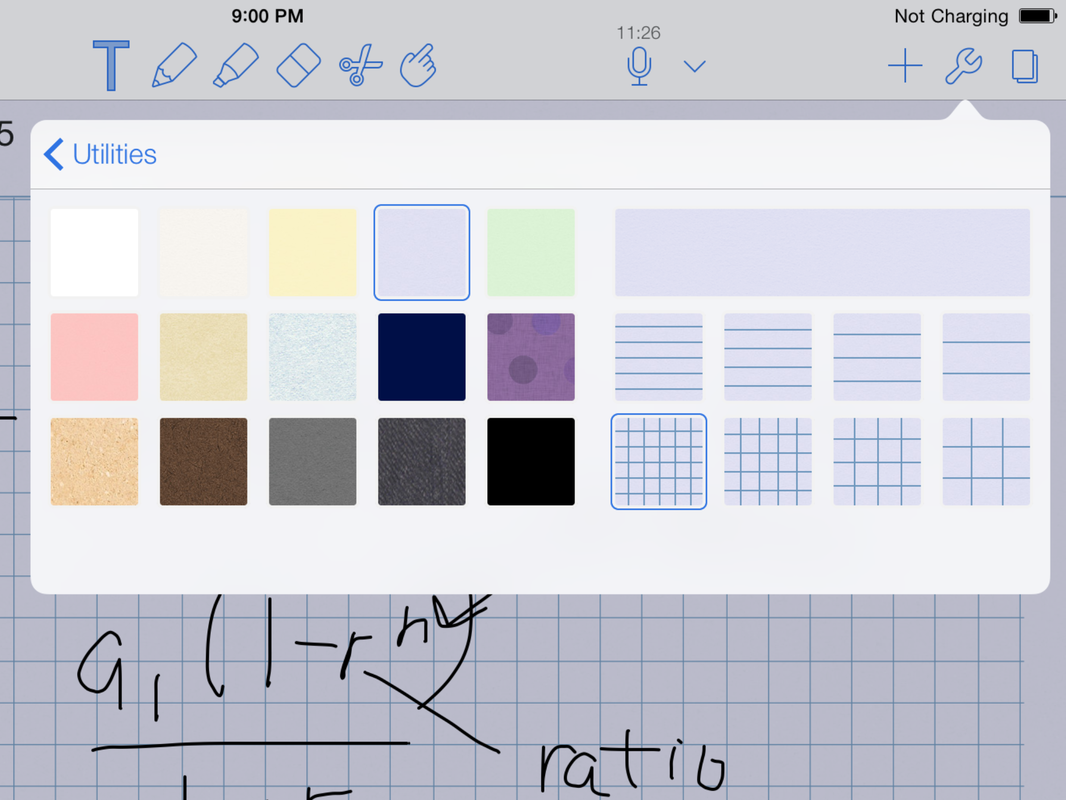
2. Select "Paper."
|
3. Choose from 135 different template-color combinations!
|
|
Managing Pages Within a Document
|
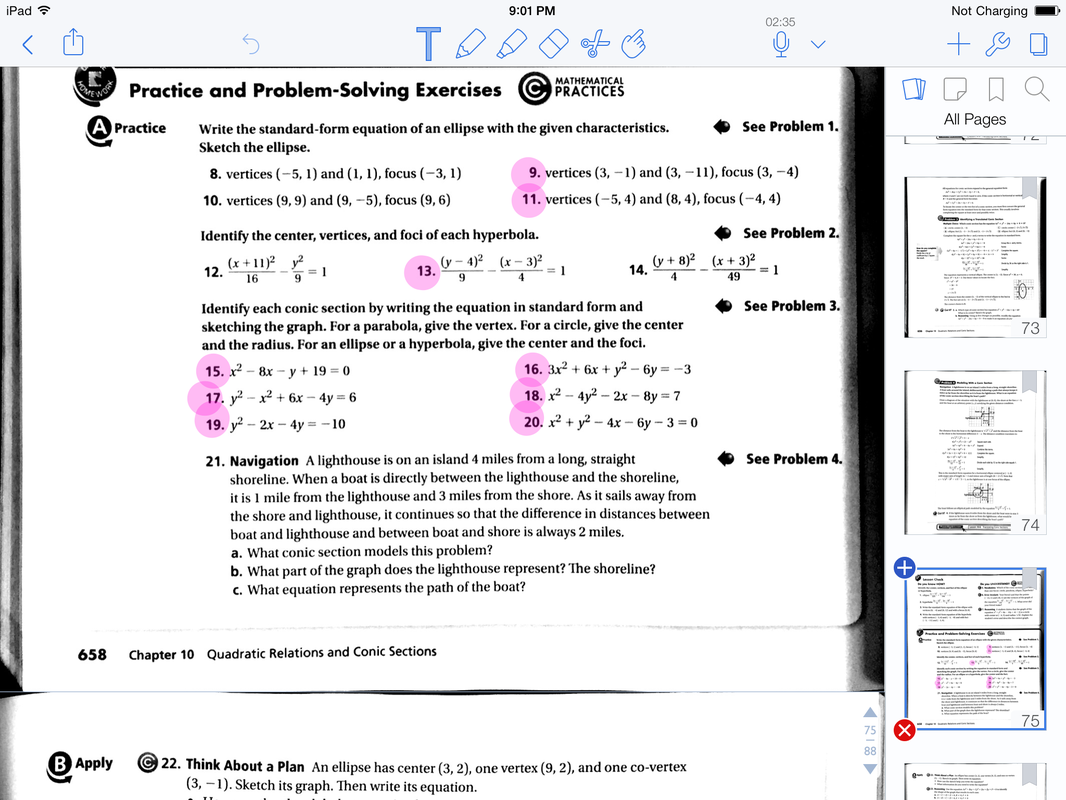
1. Tap the "Pages" icon in a document.
|
|
|
2. Choose from any of the following options:
-Delete pages -Clear pages -Add new pages -Bookmark pages -Search for pages |
|
*Important: ask your teachers if they are O.K. with you recording them. This is completely up to them.
|
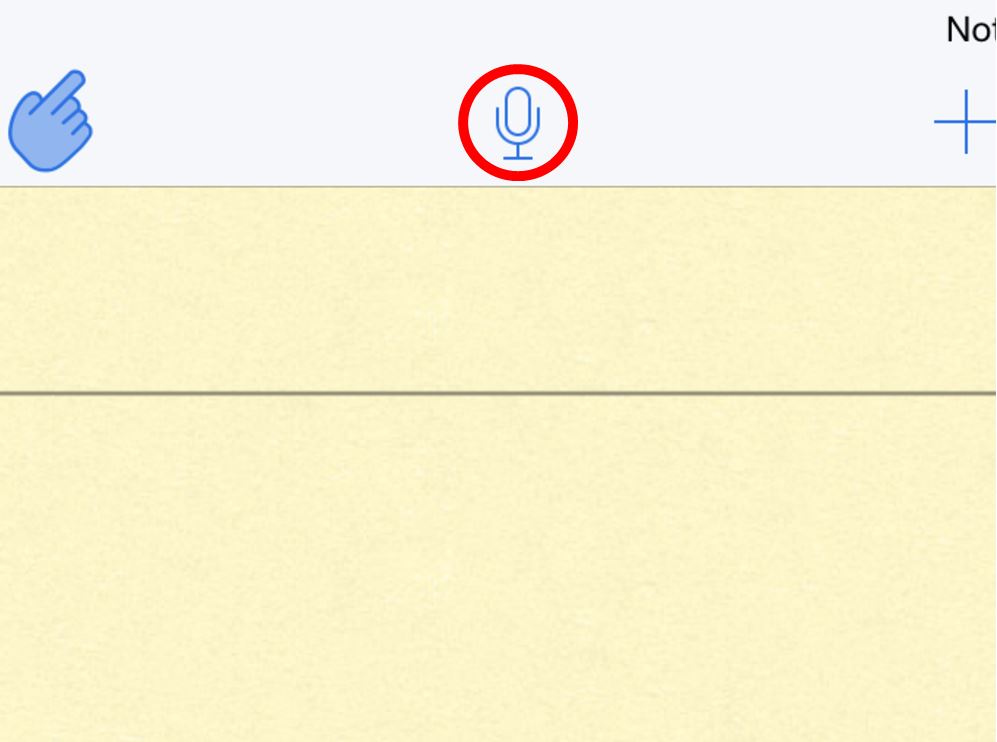
1. Tap the "Microphone" icon while typing or writing to record the lecture.
|
|
|
2. After recording, tap on the arrow next to the "Microphone" button. Press "Play" to replay the note, and watch it unfold as you listen to the audio recording.
|
|
Auto-Backup (Strongly Recommended)
|
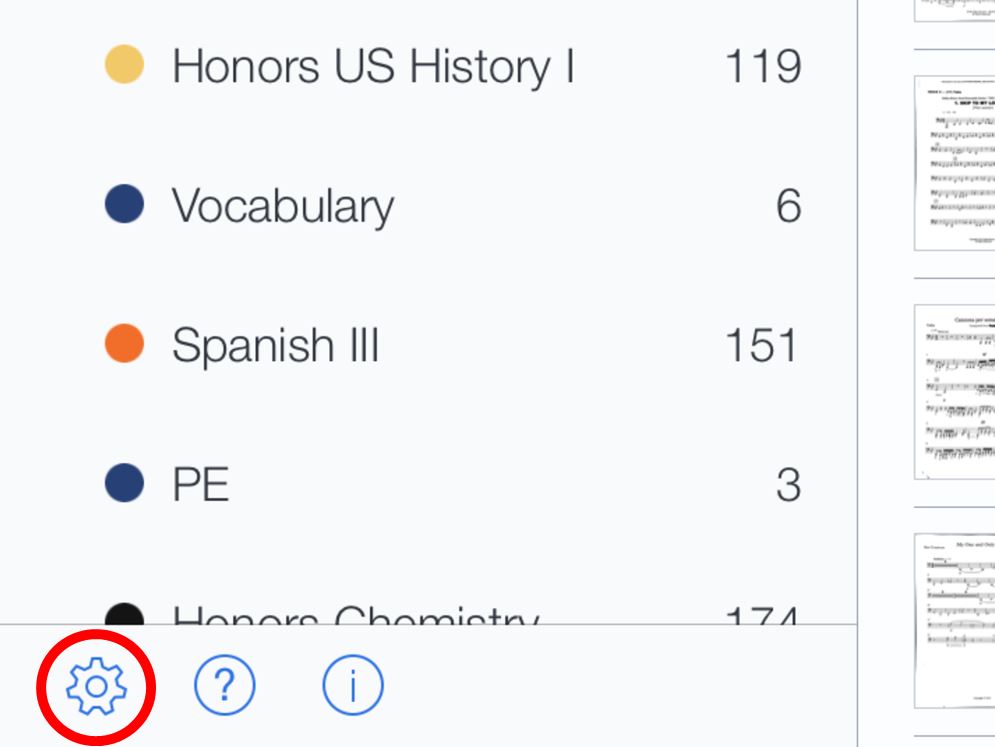
1. Tap the "Gear" icon on the main page of Notability.
|

|
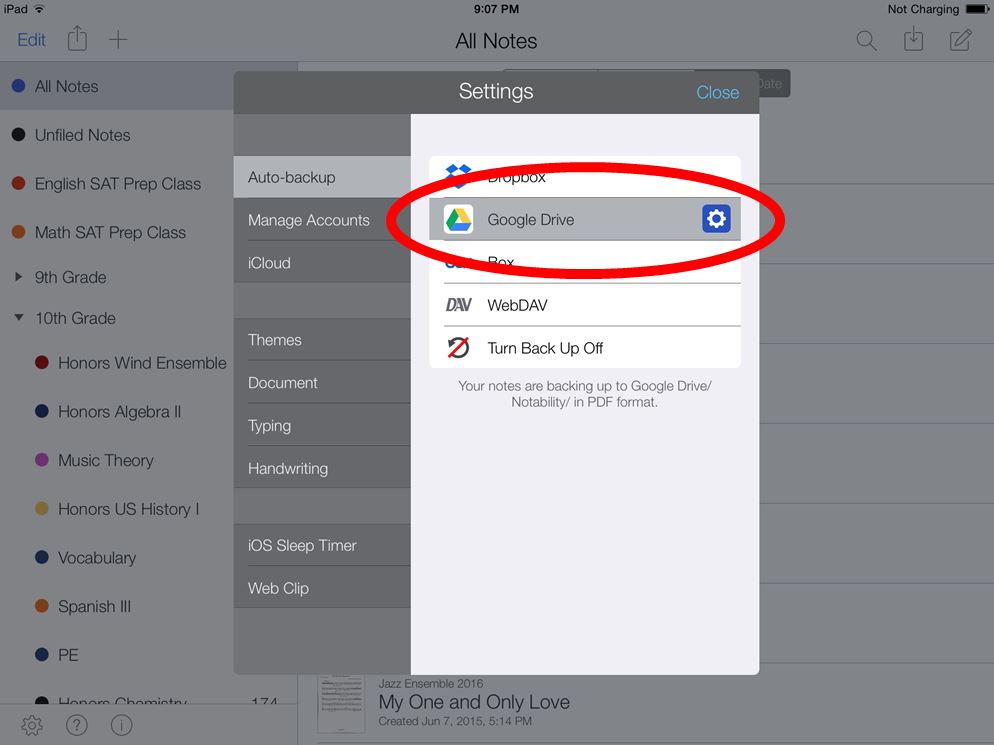
Never lose another piece of paper again. With Auto-Backup enabled, Notability will automatically save your documents to either Dropbox, Google Drive, Box, or WebDAV. We will focus only on Google Drive, as it is the easiest to use, and is completely free.
|
2. Select "Google Drive" under "Auto-backup."
|
|
3. Simply log in and you're done! Now every time you exit a document - while connecting to internet - your changes will be automatically saved directly to a folder in Google Drive. These documents can then be accessed over Google Drive from any device.
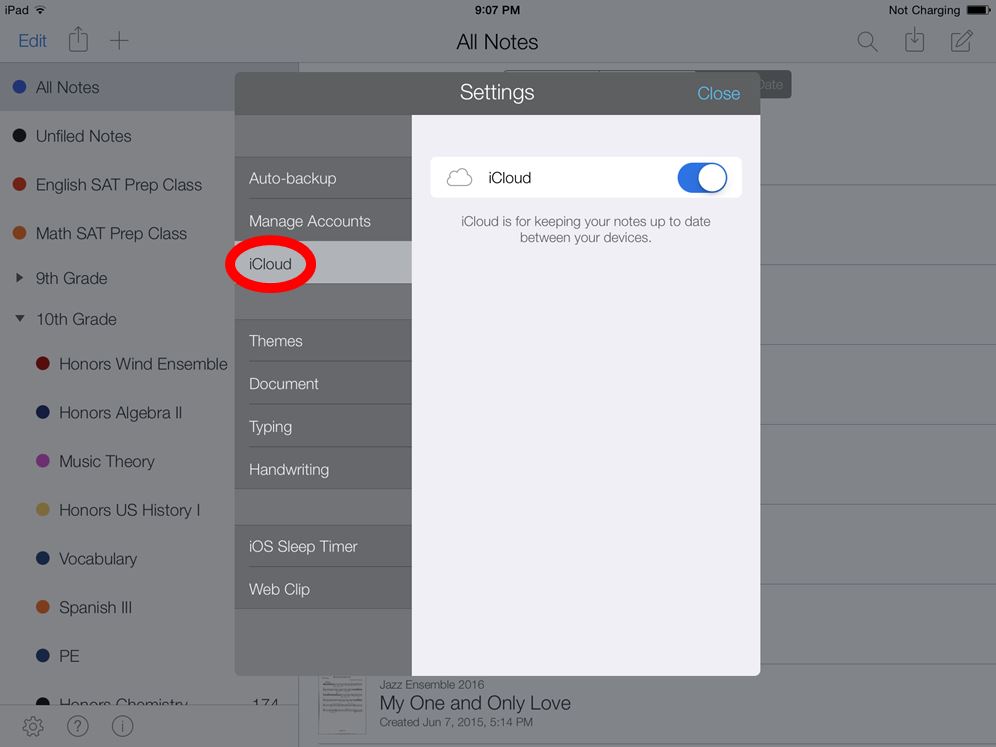
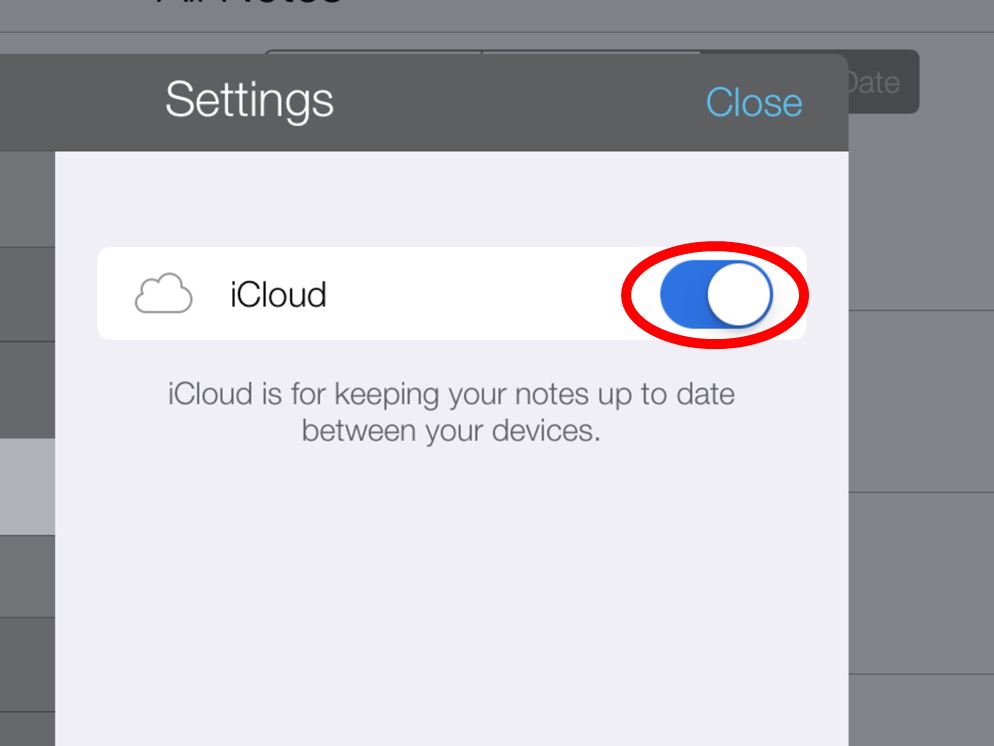
iCloud (Strongly Recommended)
iCloud automatically transfers your documents between your devices. When using Notability for the first time on a Mac, iPad or iPhone (other than the one you already have it on) simply turn this on, and all of your documents will be shared, and automatically updated. Duplicates of your documents will also be stored over the Cloud in case you lose your device and don't have Auto-Backup on.
|
1. Tap the "Gear" icon on the main page in Notability.
|
|
|
2. Tap the "iCloud" tab.
|
|
|
3. Turn on iCloud.
|
|
With Notability, you can easily send copies of your documents over many platforms, including:
-Email
-Dropbox
-Google Drive
-Twitter
-Facebook
-Edmodo
-Dropbox
-Google Drive
-Edmodo
|
1. Go into a document in Notability.
2. Select the "Export" icon and choose your method of exporting. |

|
