
Scanning
Now that you have gathered all of the materials you need, you are ready to begin. On this page you will learn how to scan your papers and transfer them to your iPad.
Step 1: Download Scanner Pro & Notability

|
|
These apps will serve as the foundation for everything you do with Neotab; their combined power is unmatched.
Step 2: Choose the Right Conditions
In order to make the transition from the physical world to the digital world as seamless as possible, the right conditions must be chosen. Follow the list below to make sure you are ready to start scanning.
-Choose Good Lighting
In order to capture the crisp contrast of the black text on the white paper, the camera on the iPad needs to be able to focus. If the scanning area has poor lighting or shadows, it cannot scan properly and a blurry scan will result.
bad lighting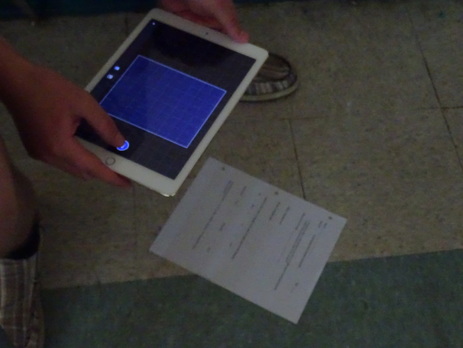
|
good lighting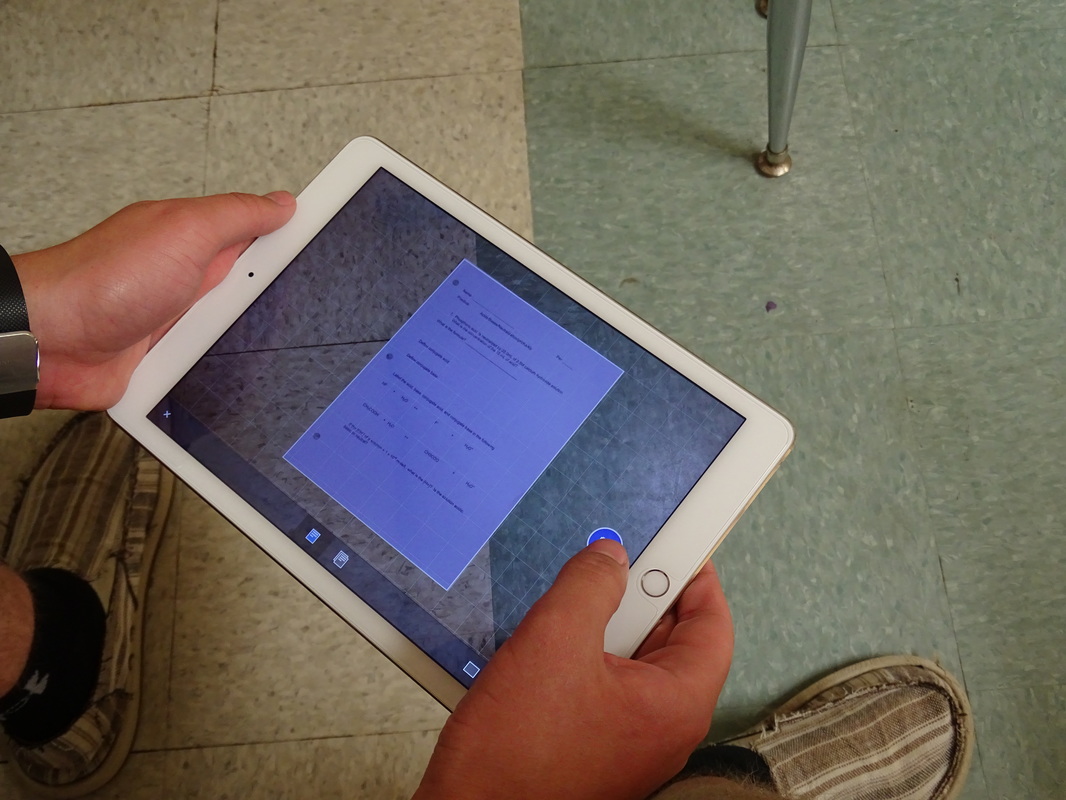
|
|

|
-Clear Area of Clutter
An experienced and efficient scanner can immediately place the paper on the ground right as it's given to them, focus, take the scan, and hand it back before the teacher is back at their desk. The area in which you scan must be free of clutter and ready for scanning. Otherwise, time is wasted, and scanning becomes a hassle.
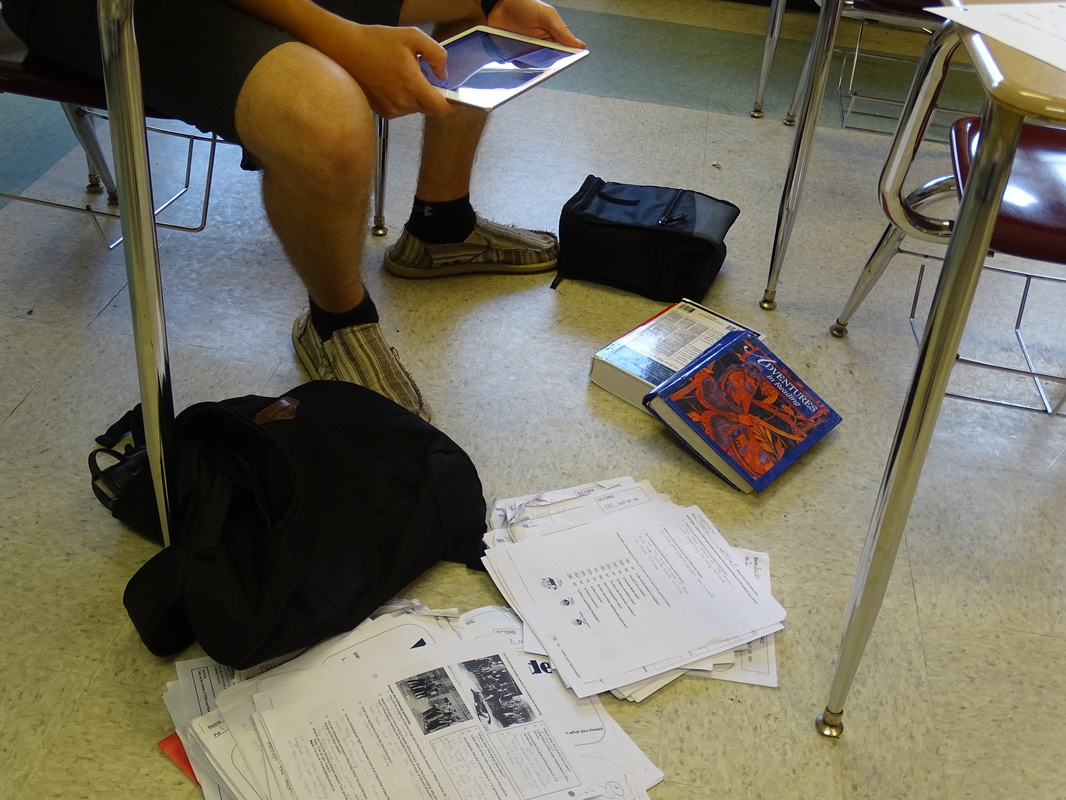
Cluttered Area |
Clear Area |
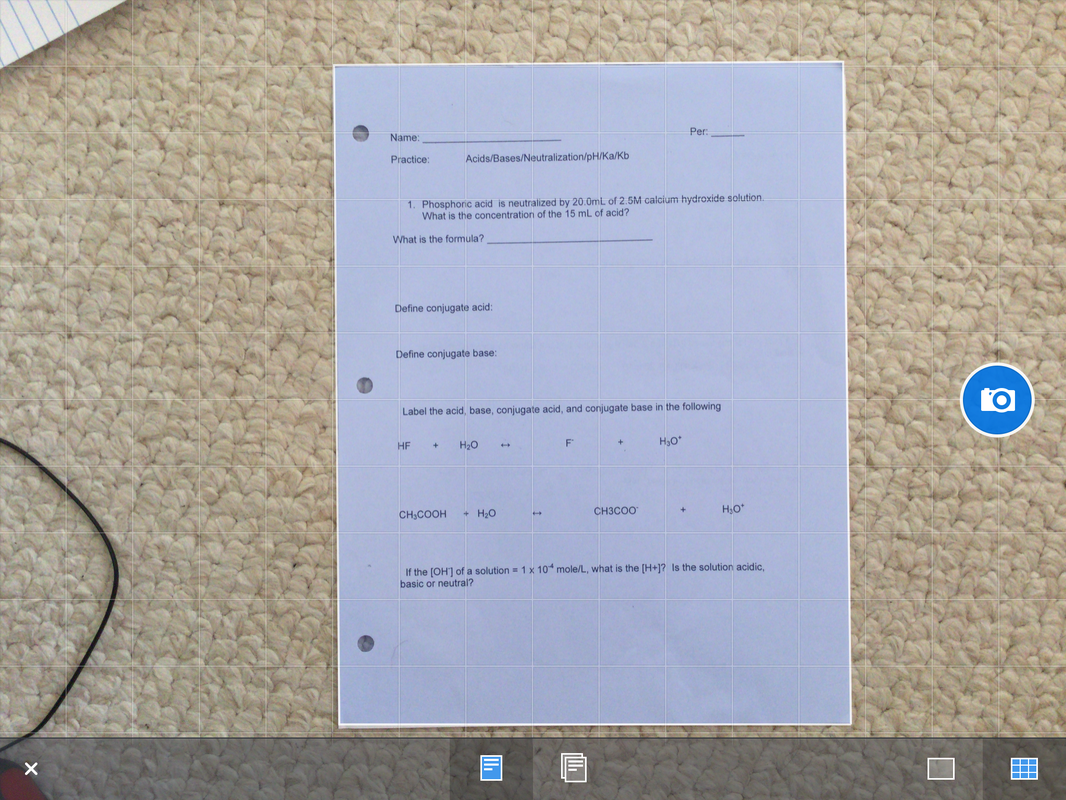
Step 3: Select "Camera" Icon in Scanner Pro
Step 4: Scan The Paper
1. Place Paper Flat on the Floor Next to Your Desk
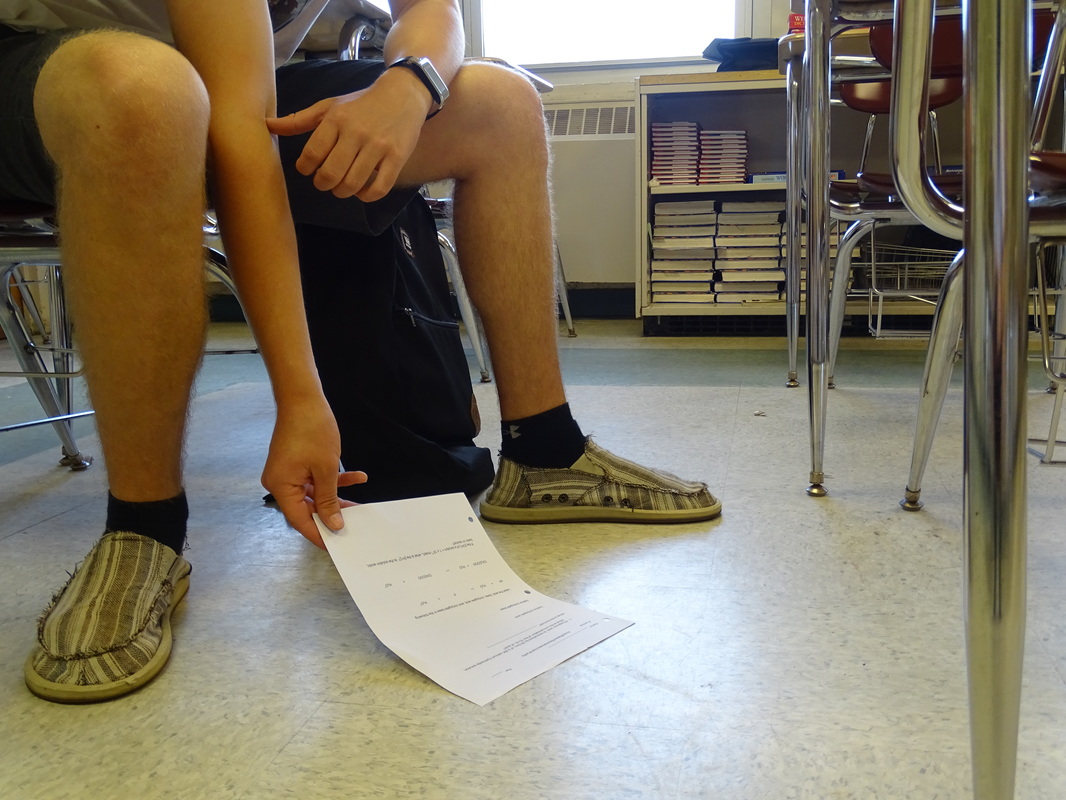
*note
Do not attempt to scan papers on the desk. They will come out stretched. Scanning on the floor is the only way to ensure a clear and balanced scan.
desk scan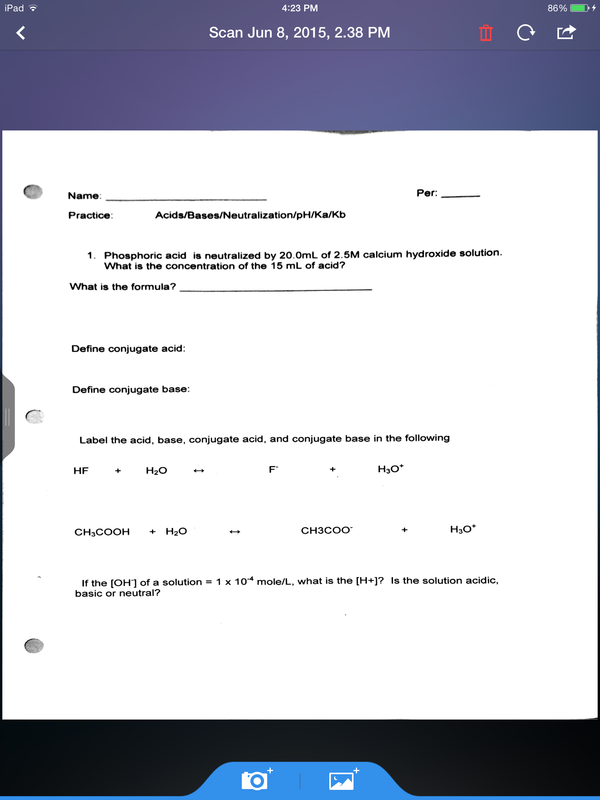
Desk Scan |
ground scan
Ground Scan |
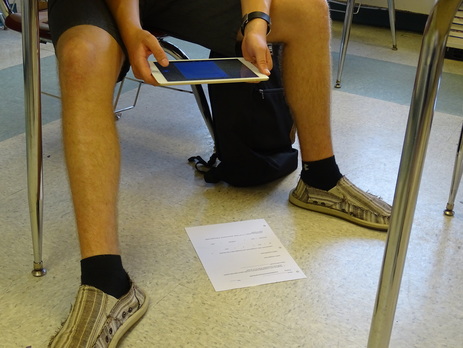
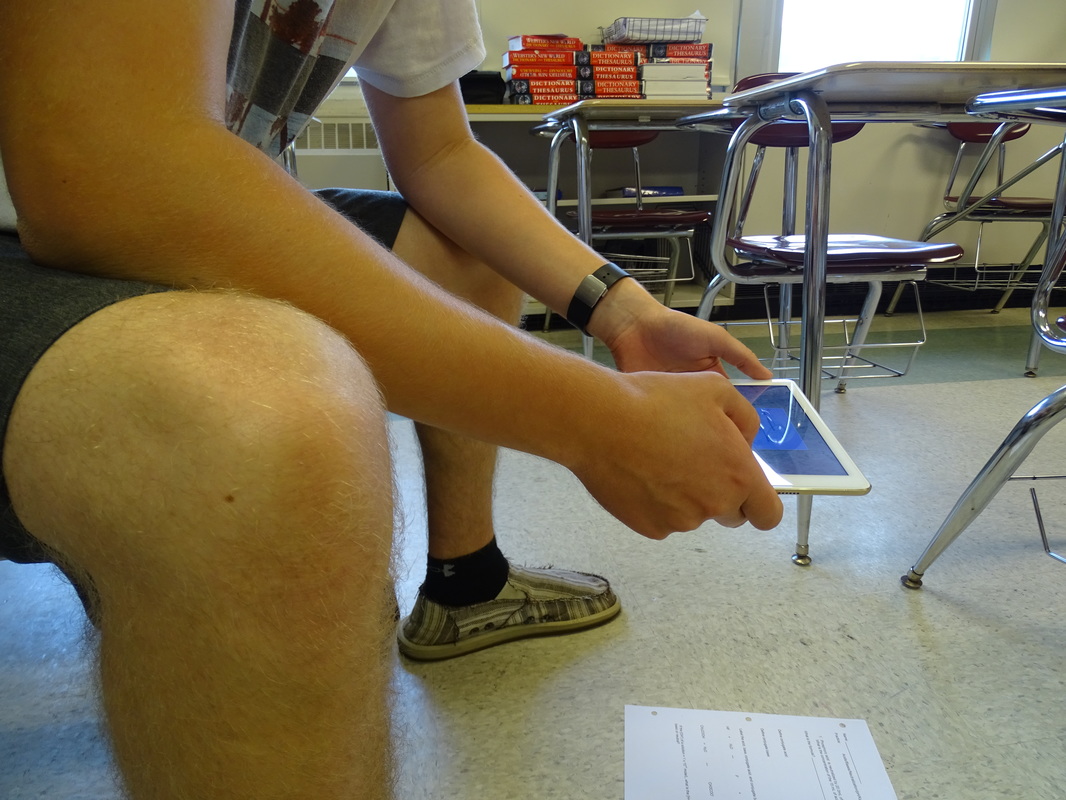
2. Get Into Proper Positioning
1. Turn sideways while still sitting in your desk.
2. Hold iPad over the paper.
3. Balance your elbows on your thighs - this ensures no shaking and maximum focusing.
2. Hold iPad over the paper.
3. Balance your elbows on your thighs - this ensures no shaking and maximum focusing.
|
|
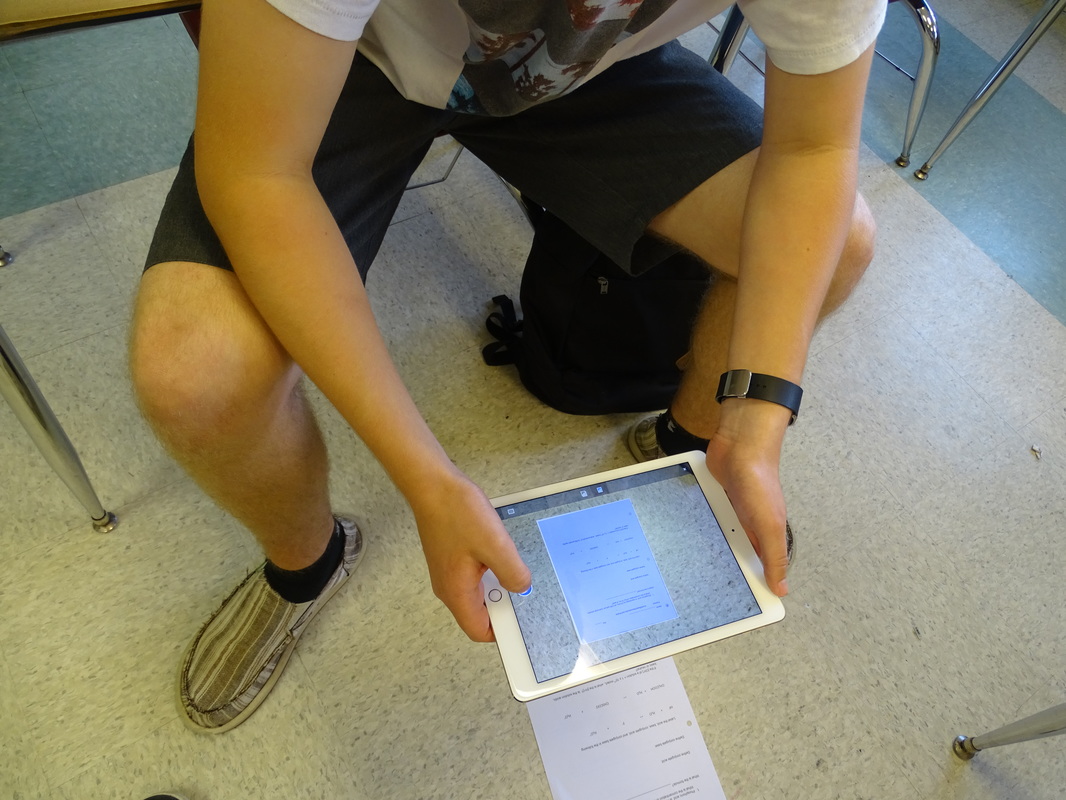
3. Take the Photo
|
Tap the screen to focus- remain steady & avoid shaking.
|
|
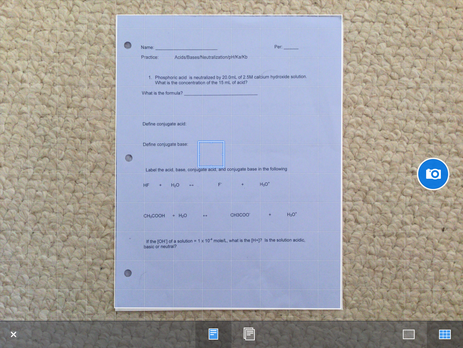
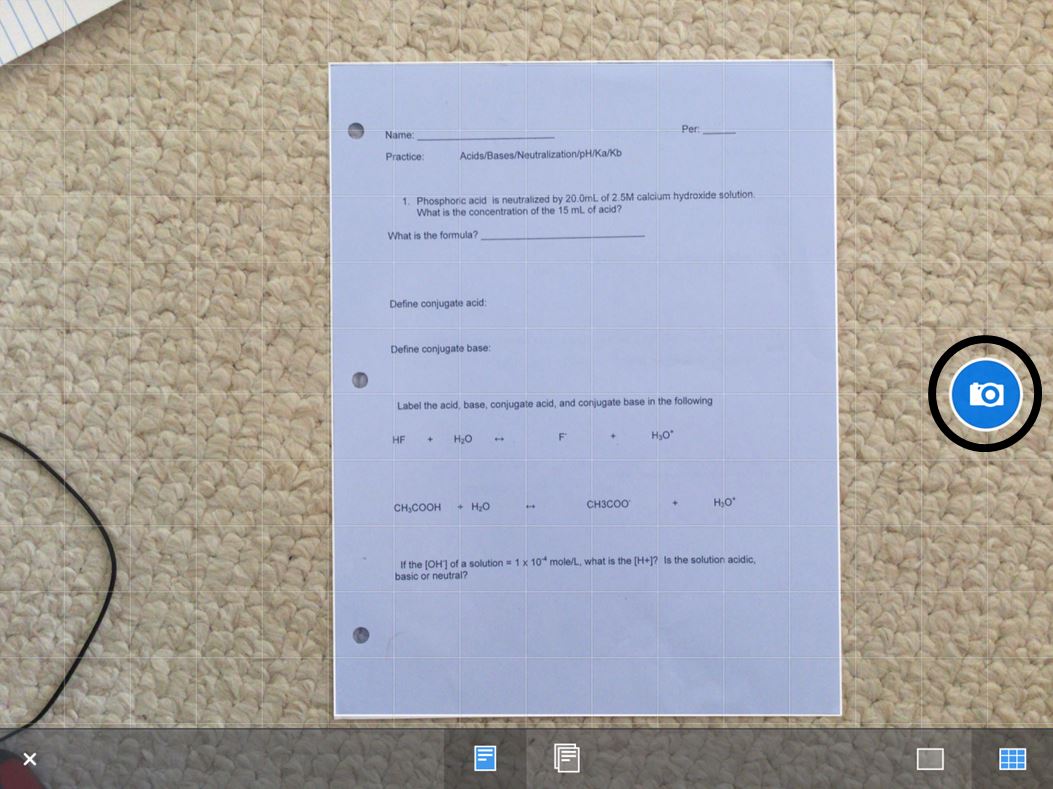
Focus until auto-borders appear.
-if they don't, just focus as best as you can; you might want to consider better conditions. |
|
Tap "capture" button to take the picture.
|
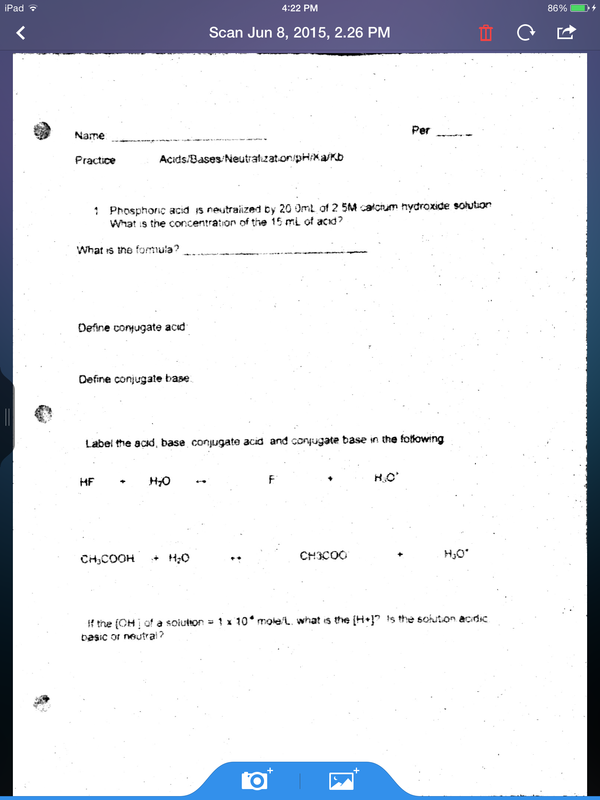
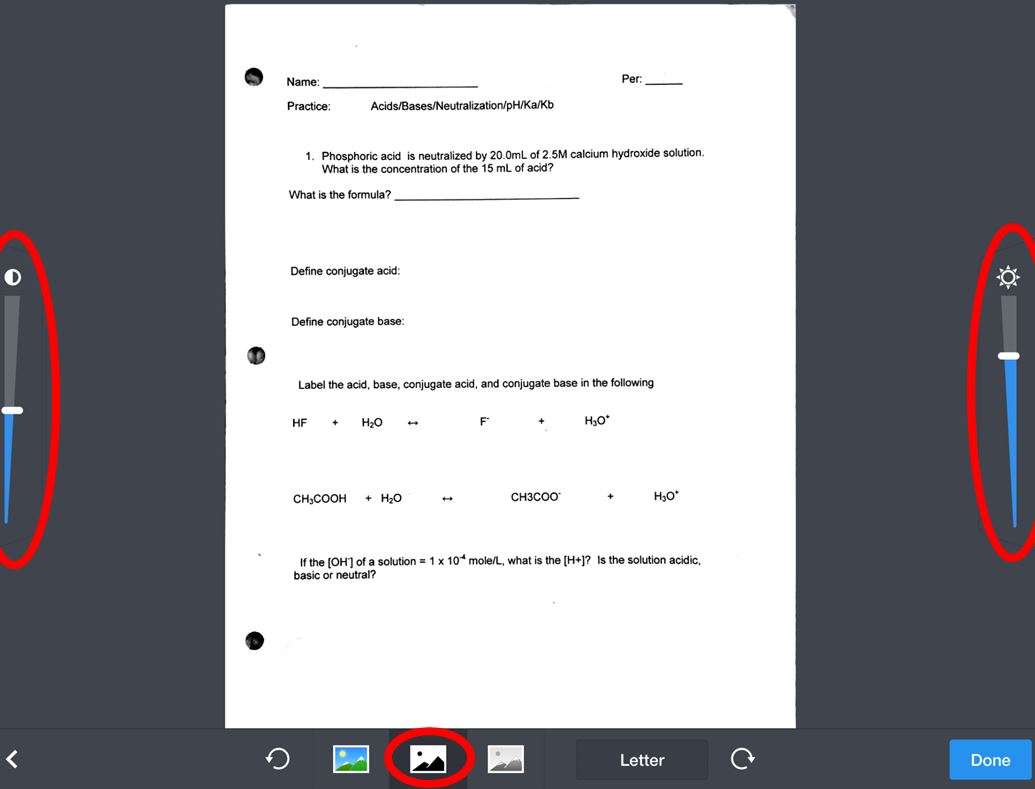
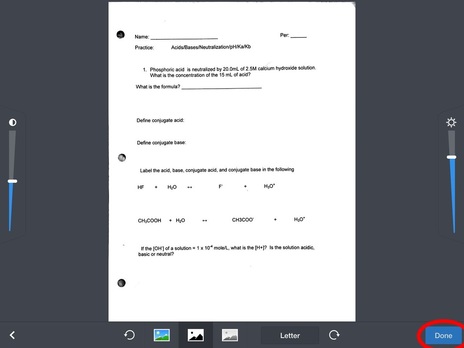
4. Edit Photo to Liking
|
Select "Black & White" tab for best contrast, and adjust brightness if needed.
|
|
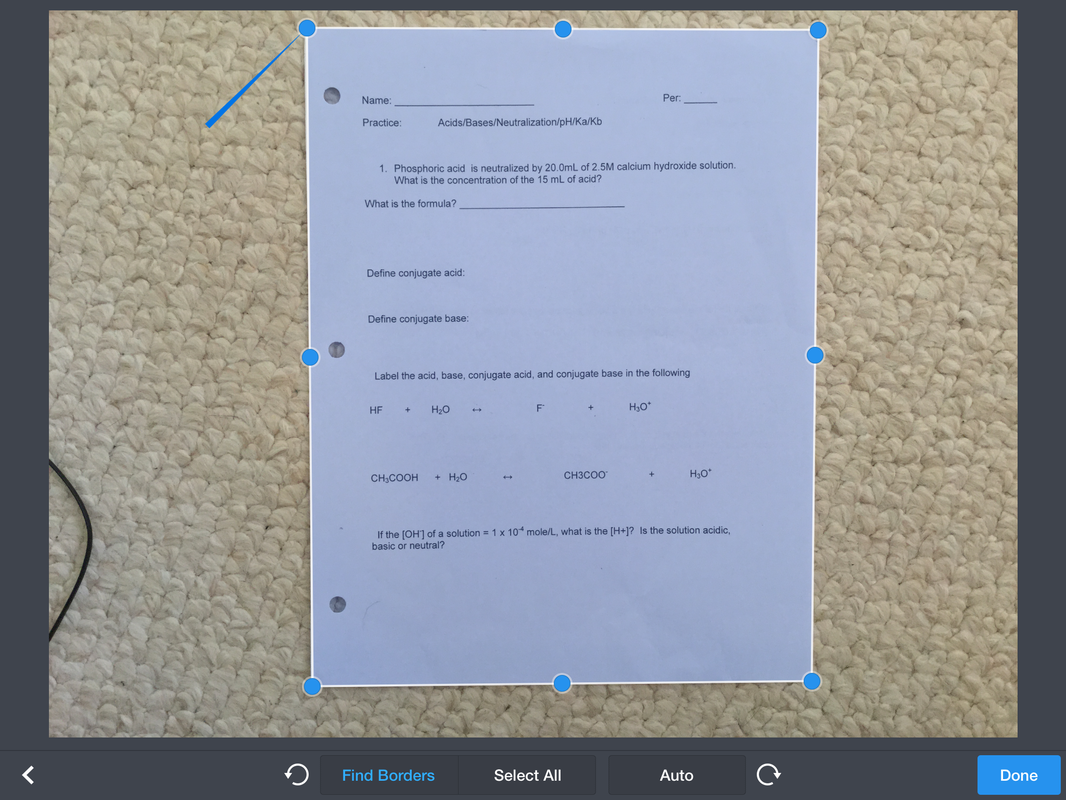
Crop to liking.
|
|
Select "Done" when finished.
|
*note
If you are experiencing issues such as blurriness, unclear text, or anything else:
-check for proper scanning conditions
-make sure you are focusing the iPad while scanning
-check for proper scanning conditions
-make sure you are focusing the iPad while scanning
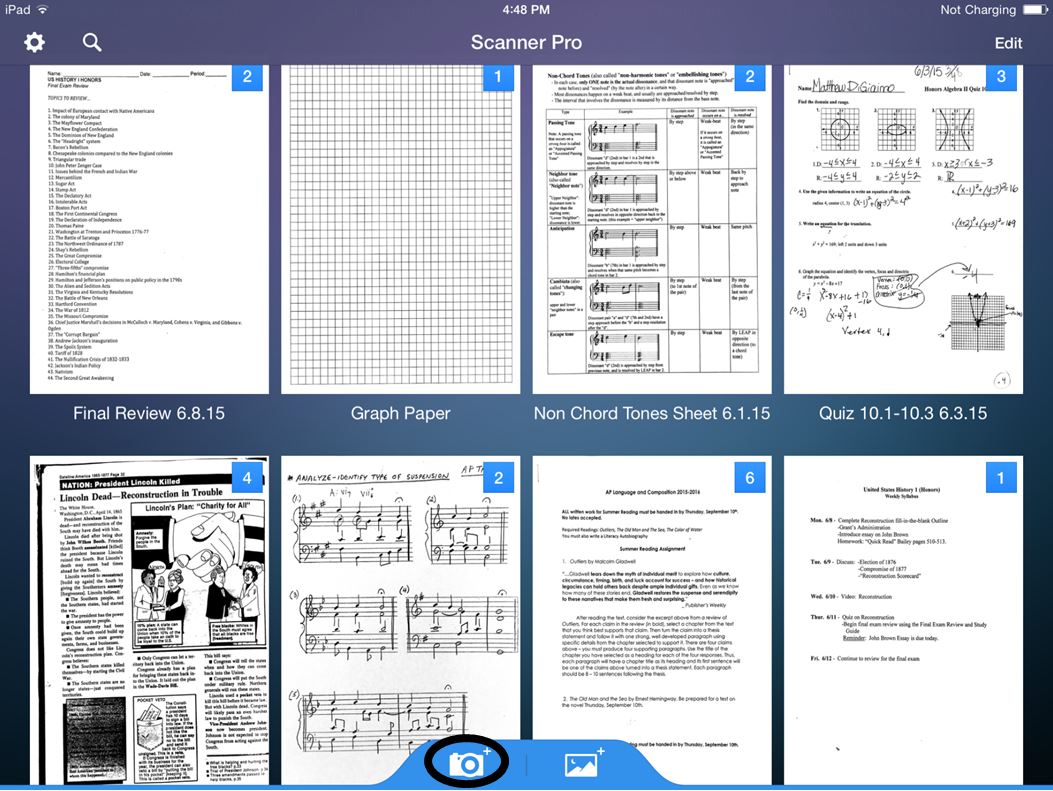
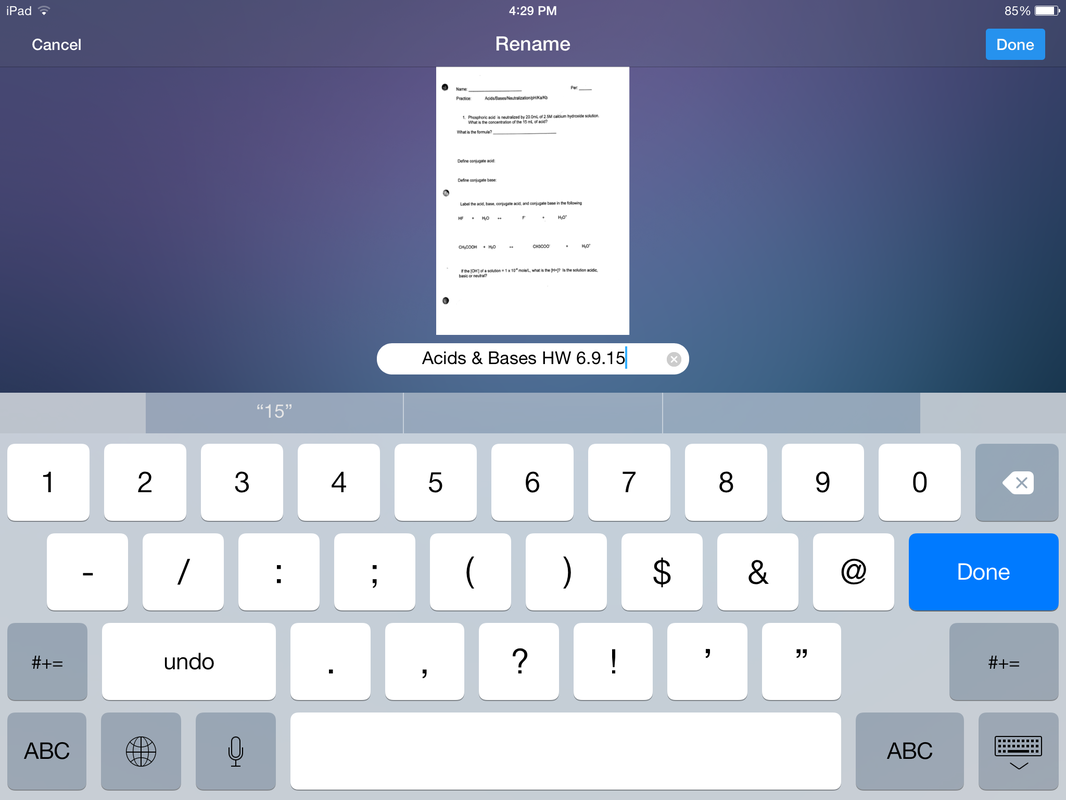
5. Name Your Document
|
Name your documents by NAME and DATE so you know what they are at a glance while scrolling through your binders.
|
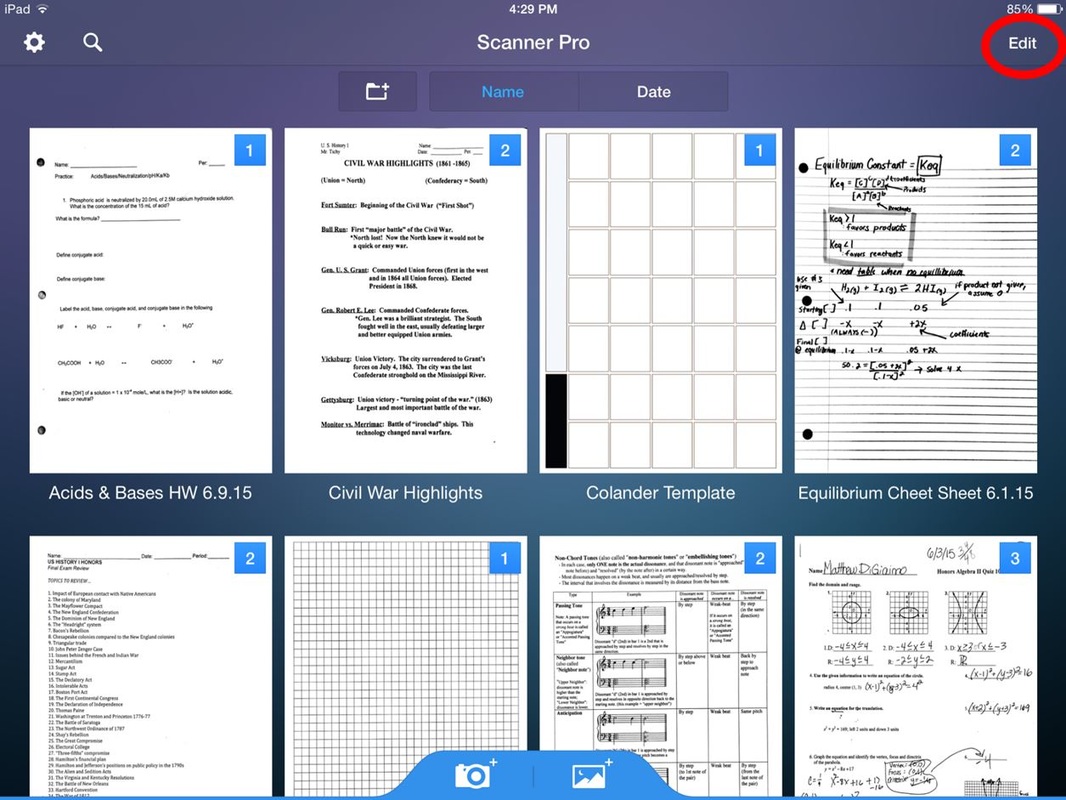
Step 5: Import to Notability
Now that you have scanned your paper(s), follow these steps on how to import them into Notability.
|
1. Select "Edit" button.
|
|
|
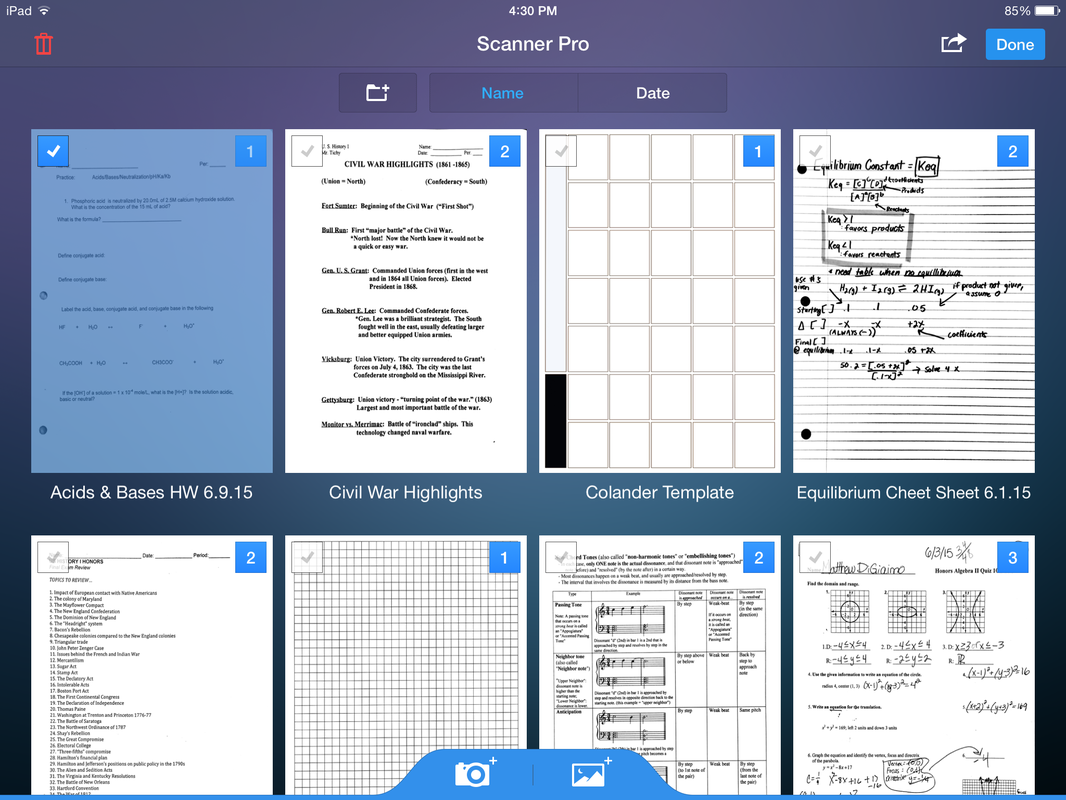
2. Select your document.
|
|
|
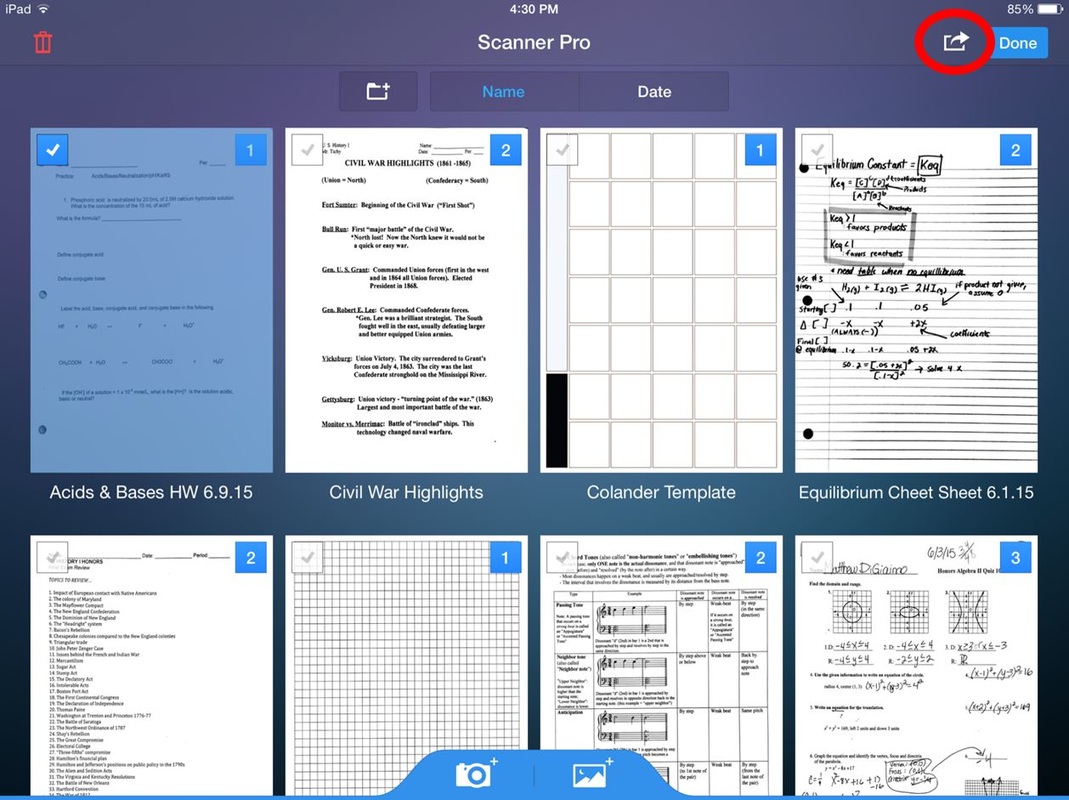
3. Select "Export" icon.
|
|
|
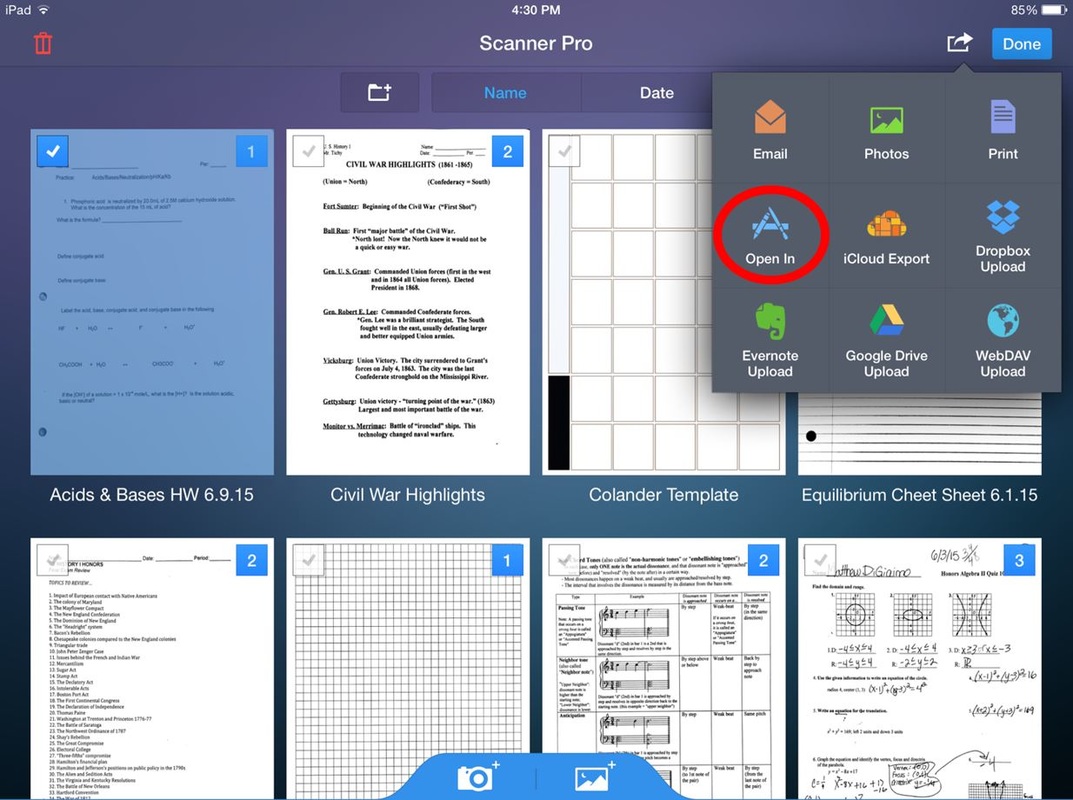
4. Select "Open In" button.
|
|
|
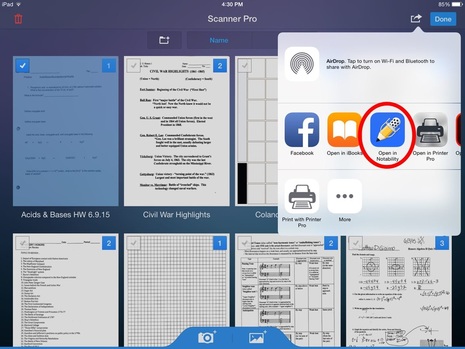
5. Select "Notability" icon.
|
|
|
6. Select "Create New Note."
|

|
|
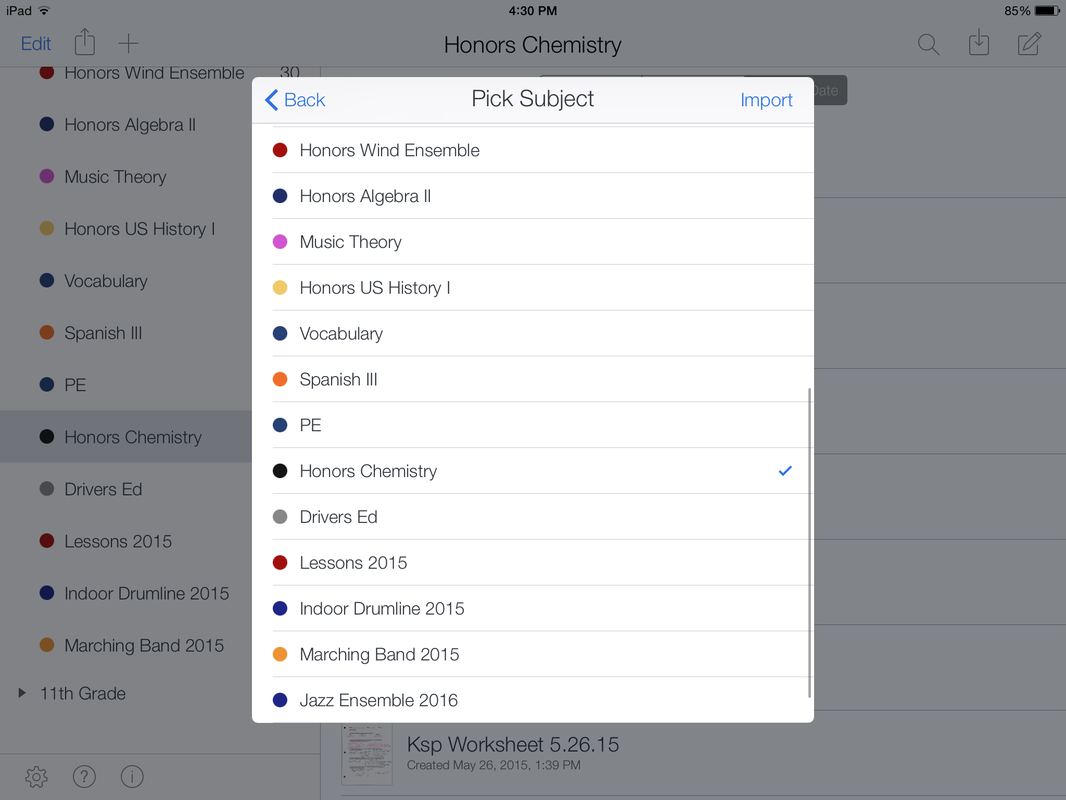
7. Select a class.
|
|
